


With the tight tolerances, precision machining, and the high price tags that many butterfly knives have these days, taking apart your balisong can be somewhat intimidating.
Will it void the warranty? Will I be able to put it back together? Once it is back together, will it still have the same tolerances that it had before?
If you have any of these anxieties about balisong maintenance, read on for some great tips and methods for disassembling your knife. But first, why would you even want to take apart your balisong?
There are many reasons to do so, but the most common include deep cleaning, replacing parts/modding, and re-tuning for better tolerances. Some people just enjoy taking things apart and putting them back together to learn how they work, and butterfly knives are certainly an interesting curiosity worth investigating!
Note: It is highly recommended to keep all parts organized when disassembling your balisong so that you can put it back together the exact same way. Switching around certain components may affect the knife’s tolerances, so make sure you’re keeping track of where all the parts came from. Taking pictures and notes during disassembly can serve as excellent references for reassembly to make sure everything goes back in the right places.
How To Disassemble Your Balisong Knife
Prepare your Workspace
Before you start disassembling your butterfly knife it is a great idea to prepare the area where you’ll be working, gathering all the materials you’ll need from start to finish.
Although not essential, you’ll have a much better time working on your knife if you first prepare your environment. The longer you have to work on a knife, the more dividends this step will pay off.
Clean your desk or workbench off, put on some music, make sure the cat is asleep in the other room - whatever you need to do to make your environment comfortable and free from distractions and disturbances.
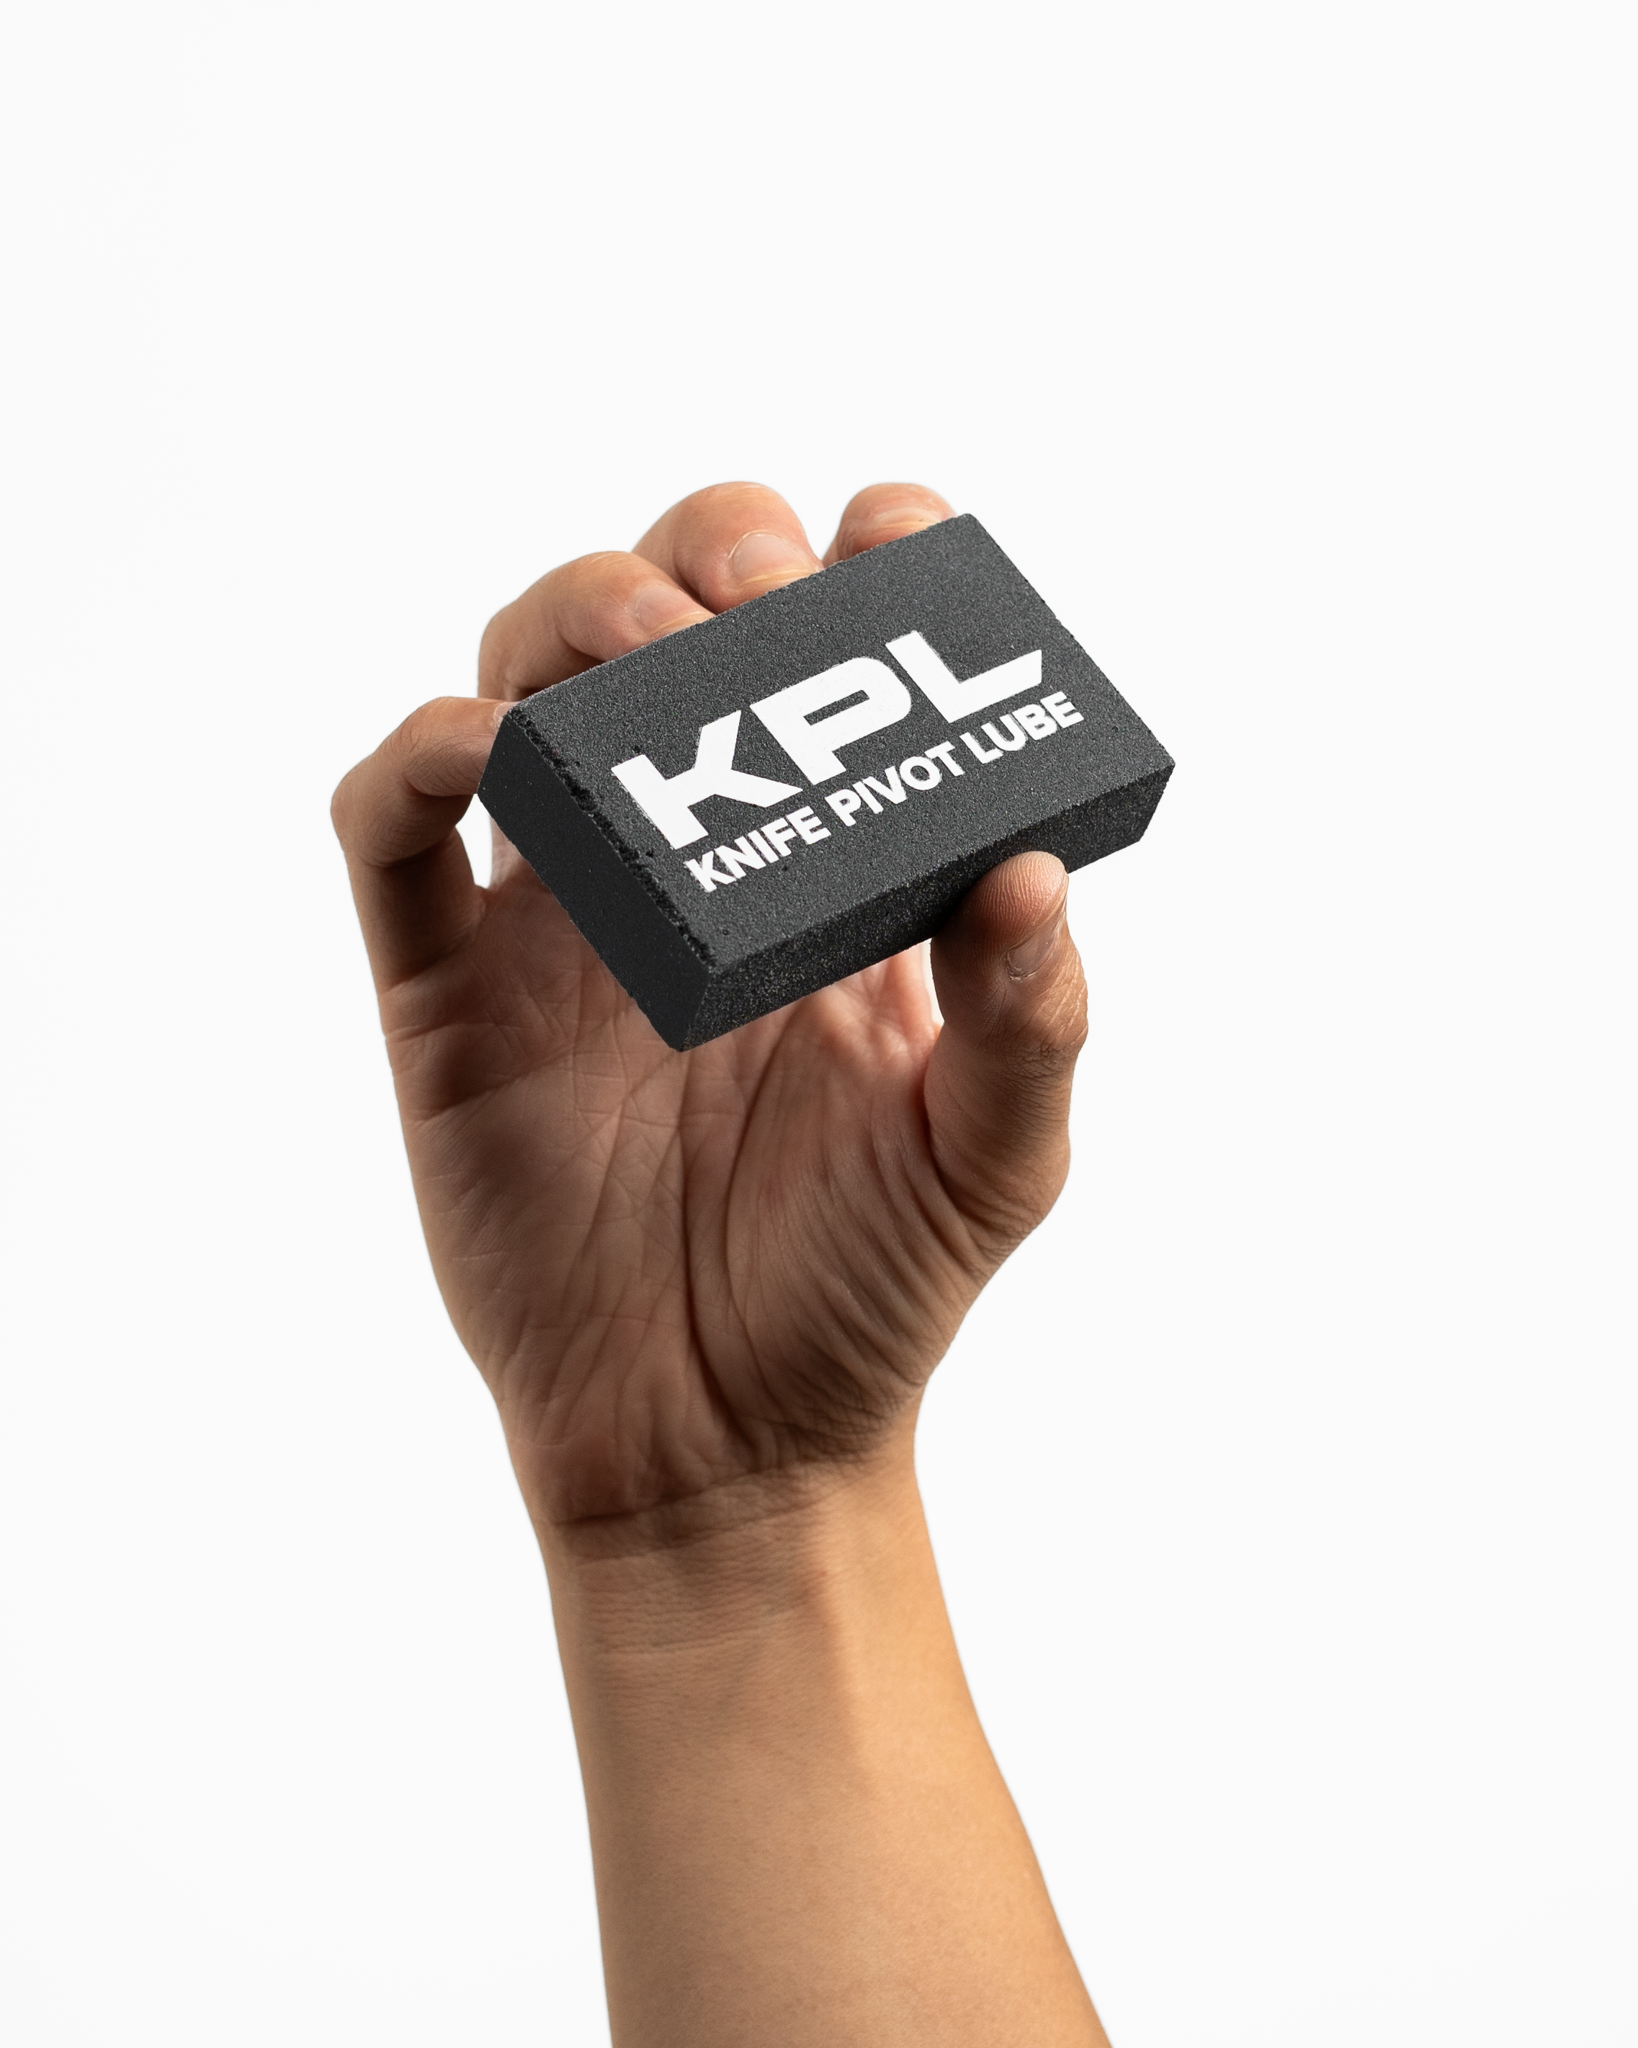
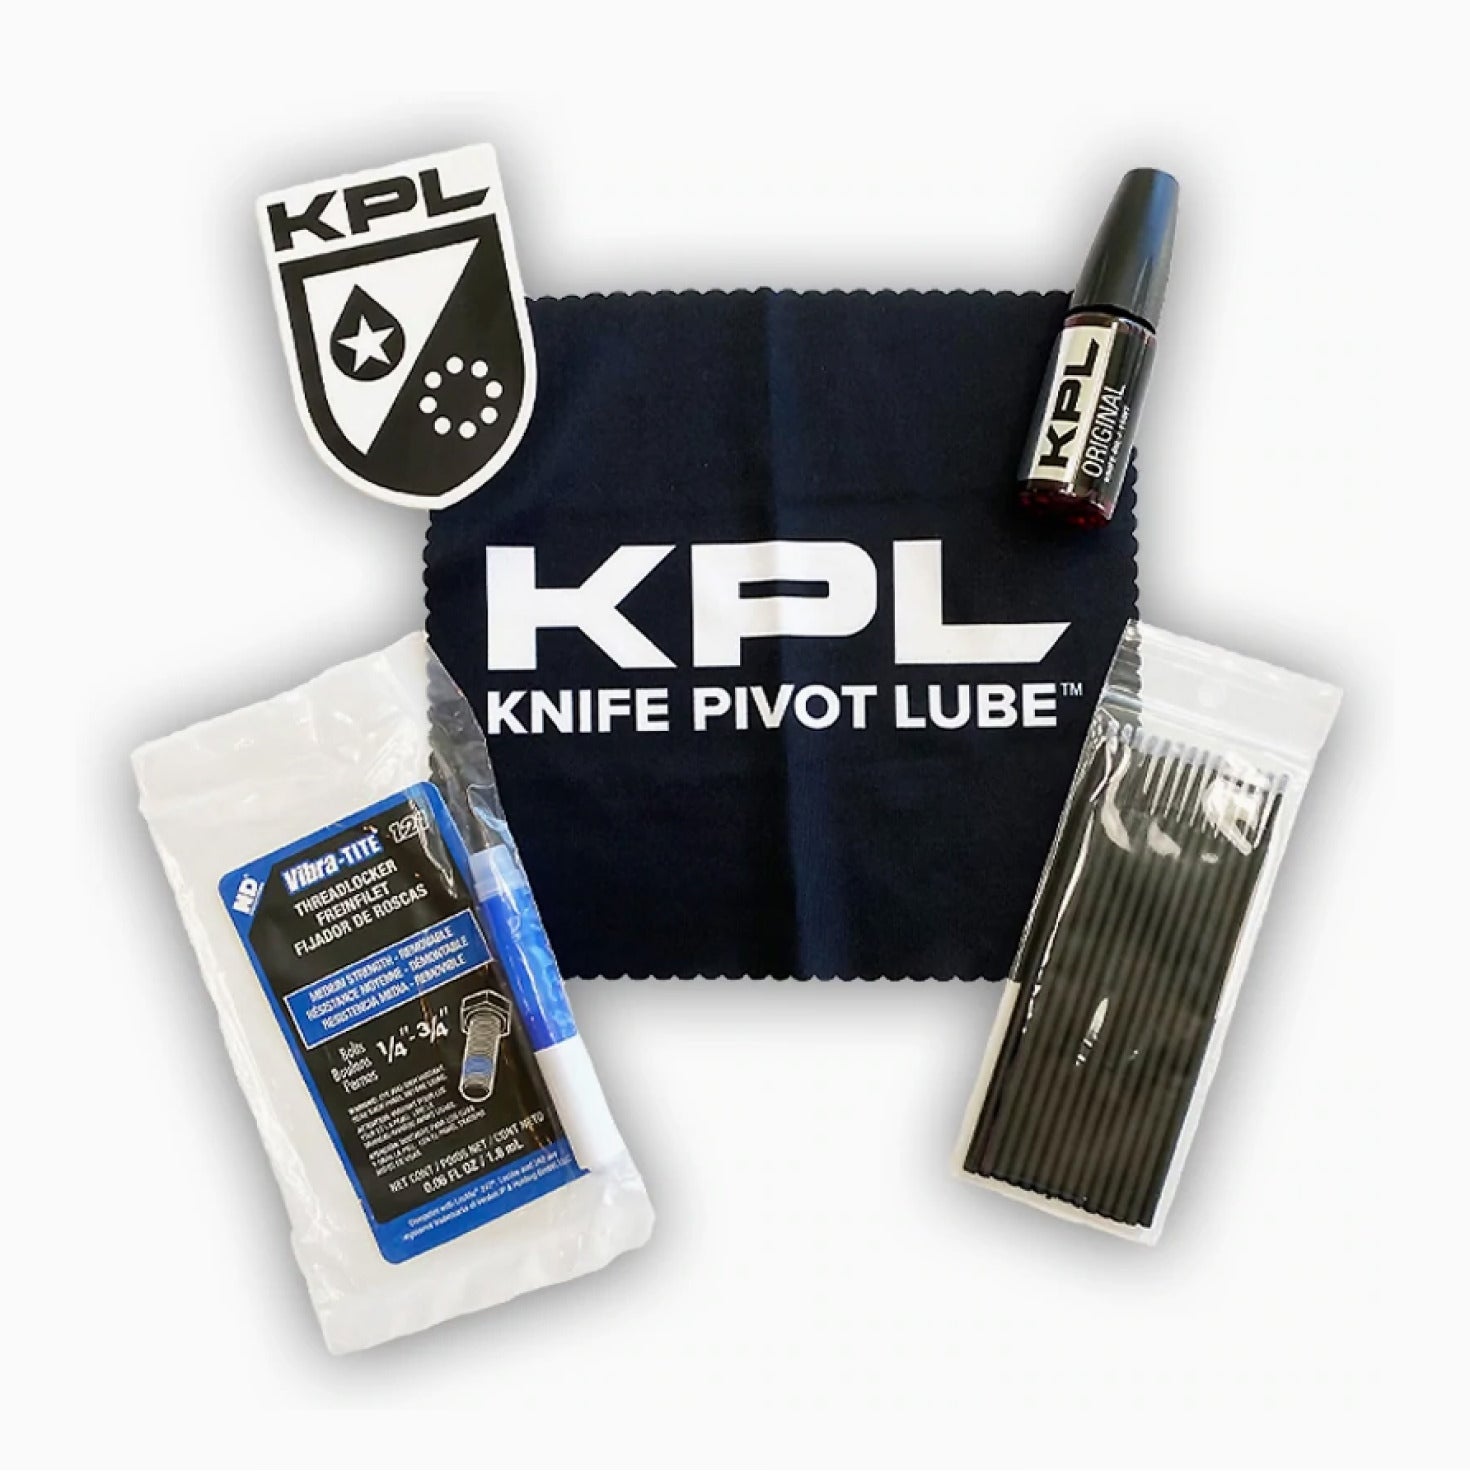
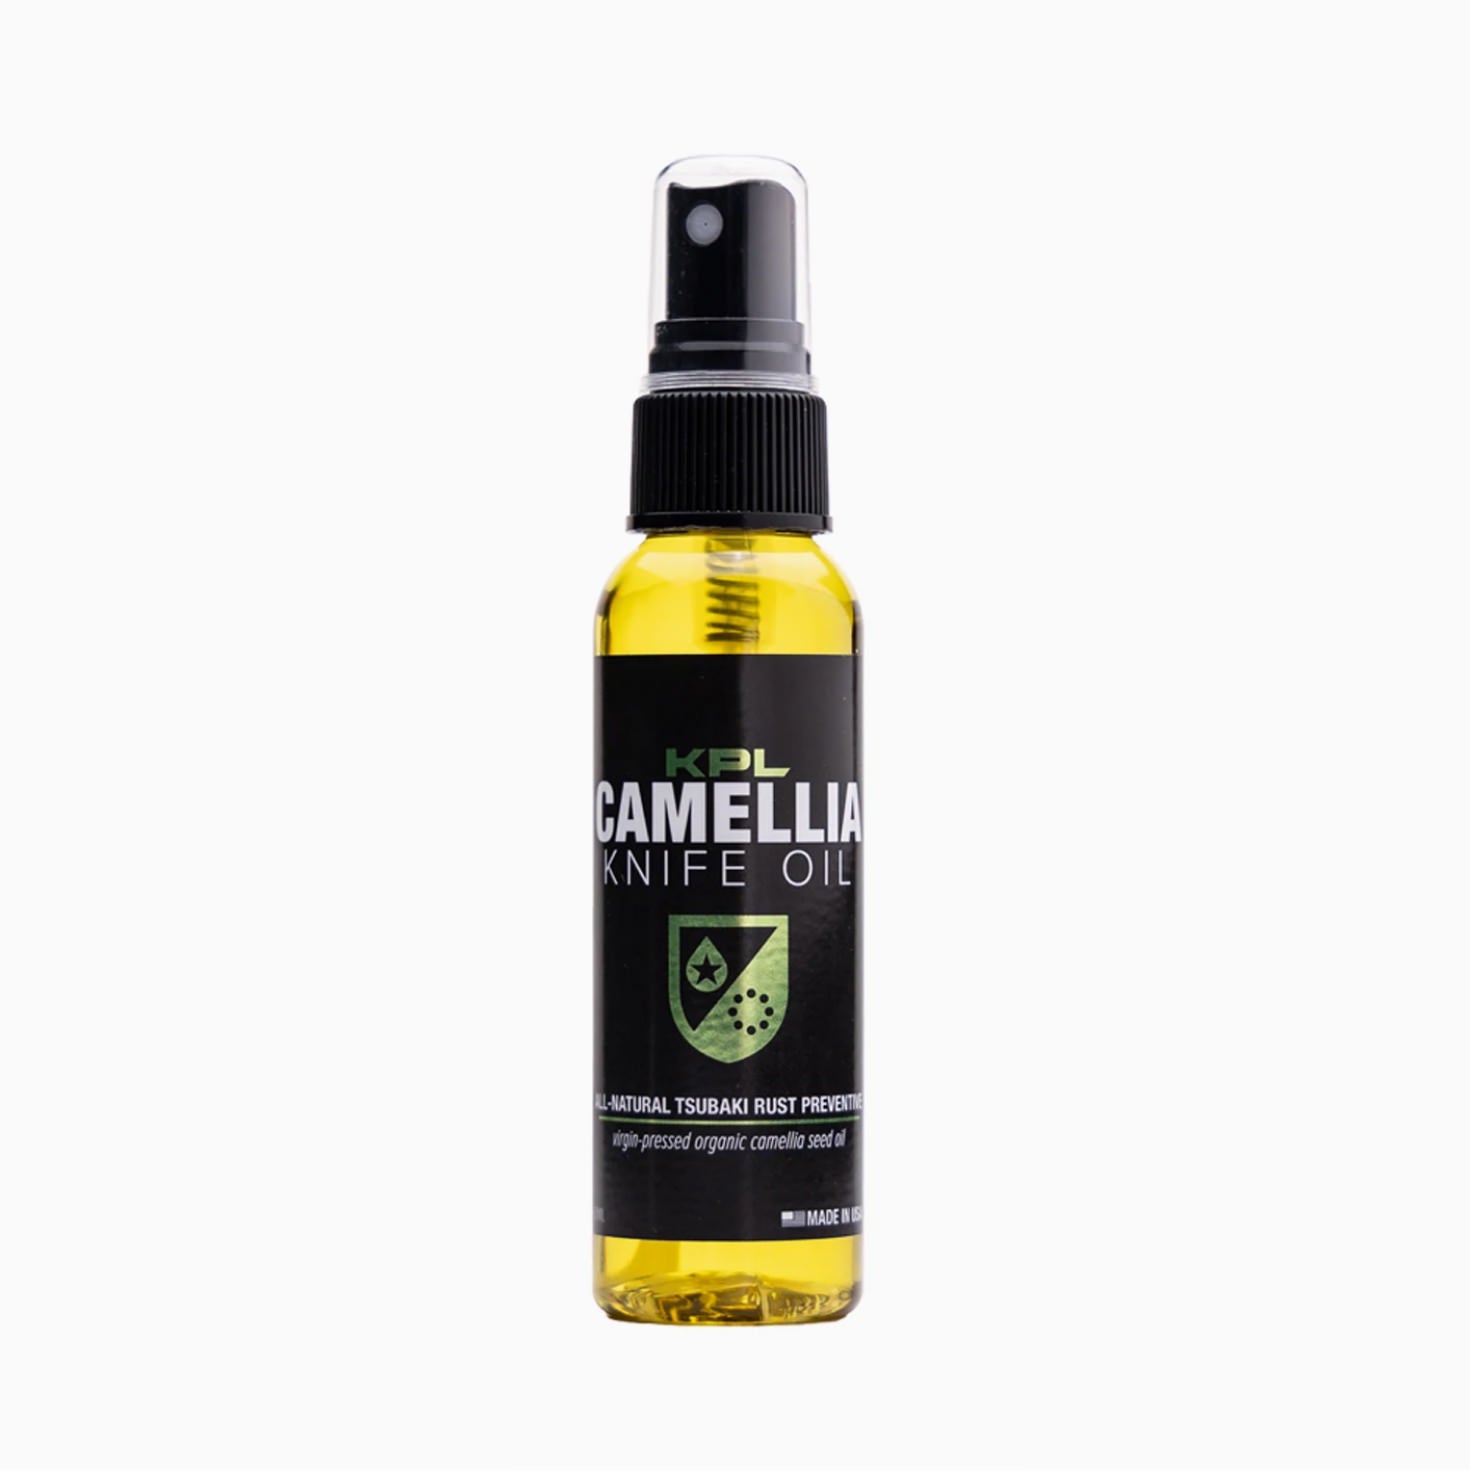
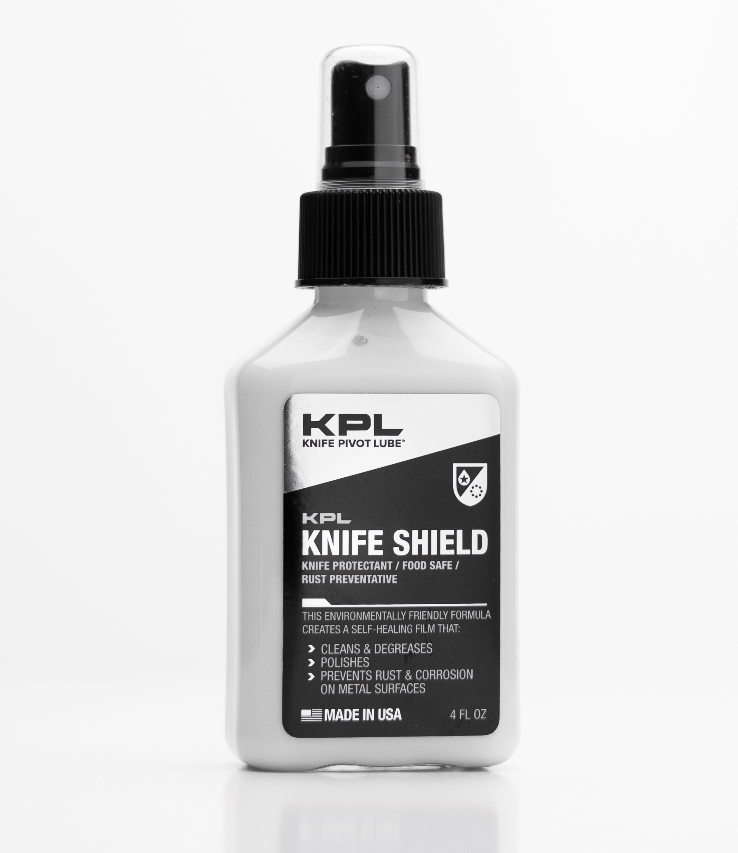
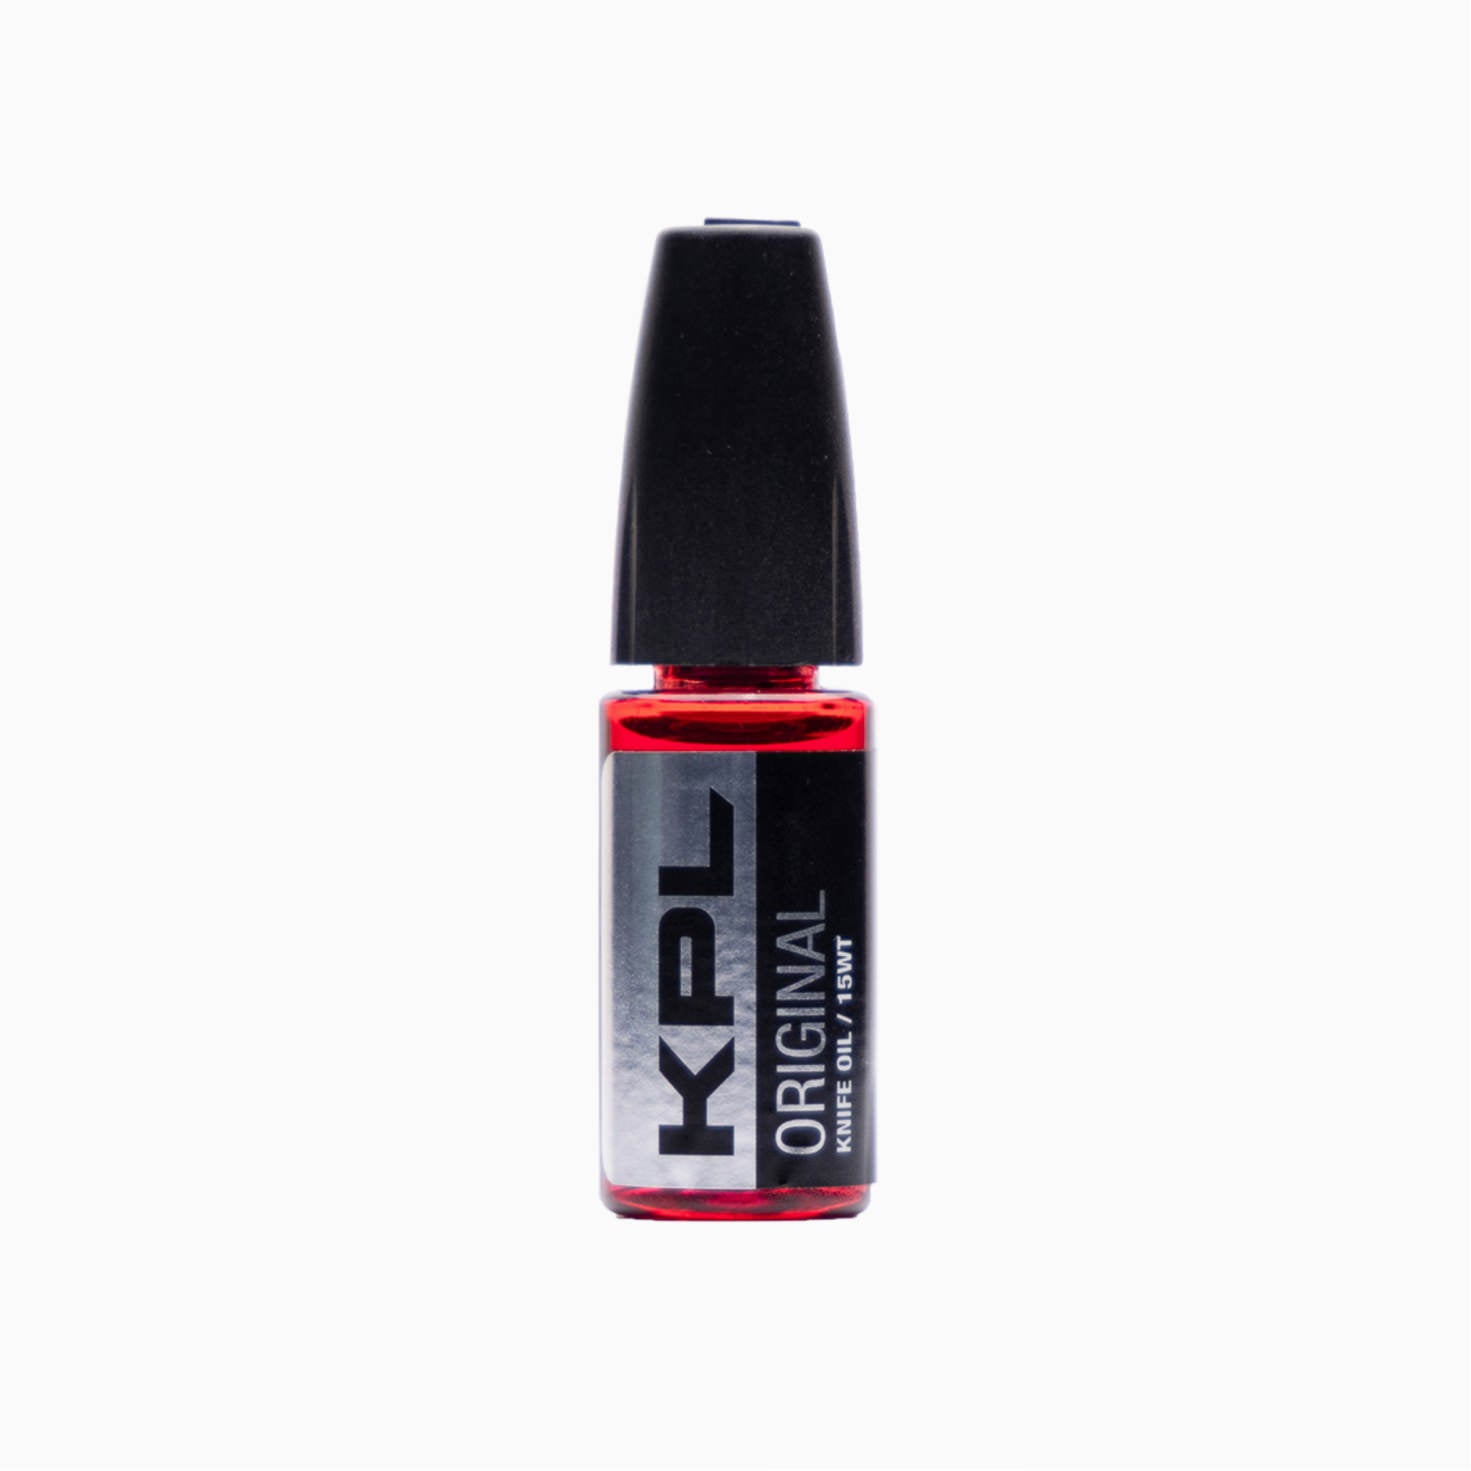
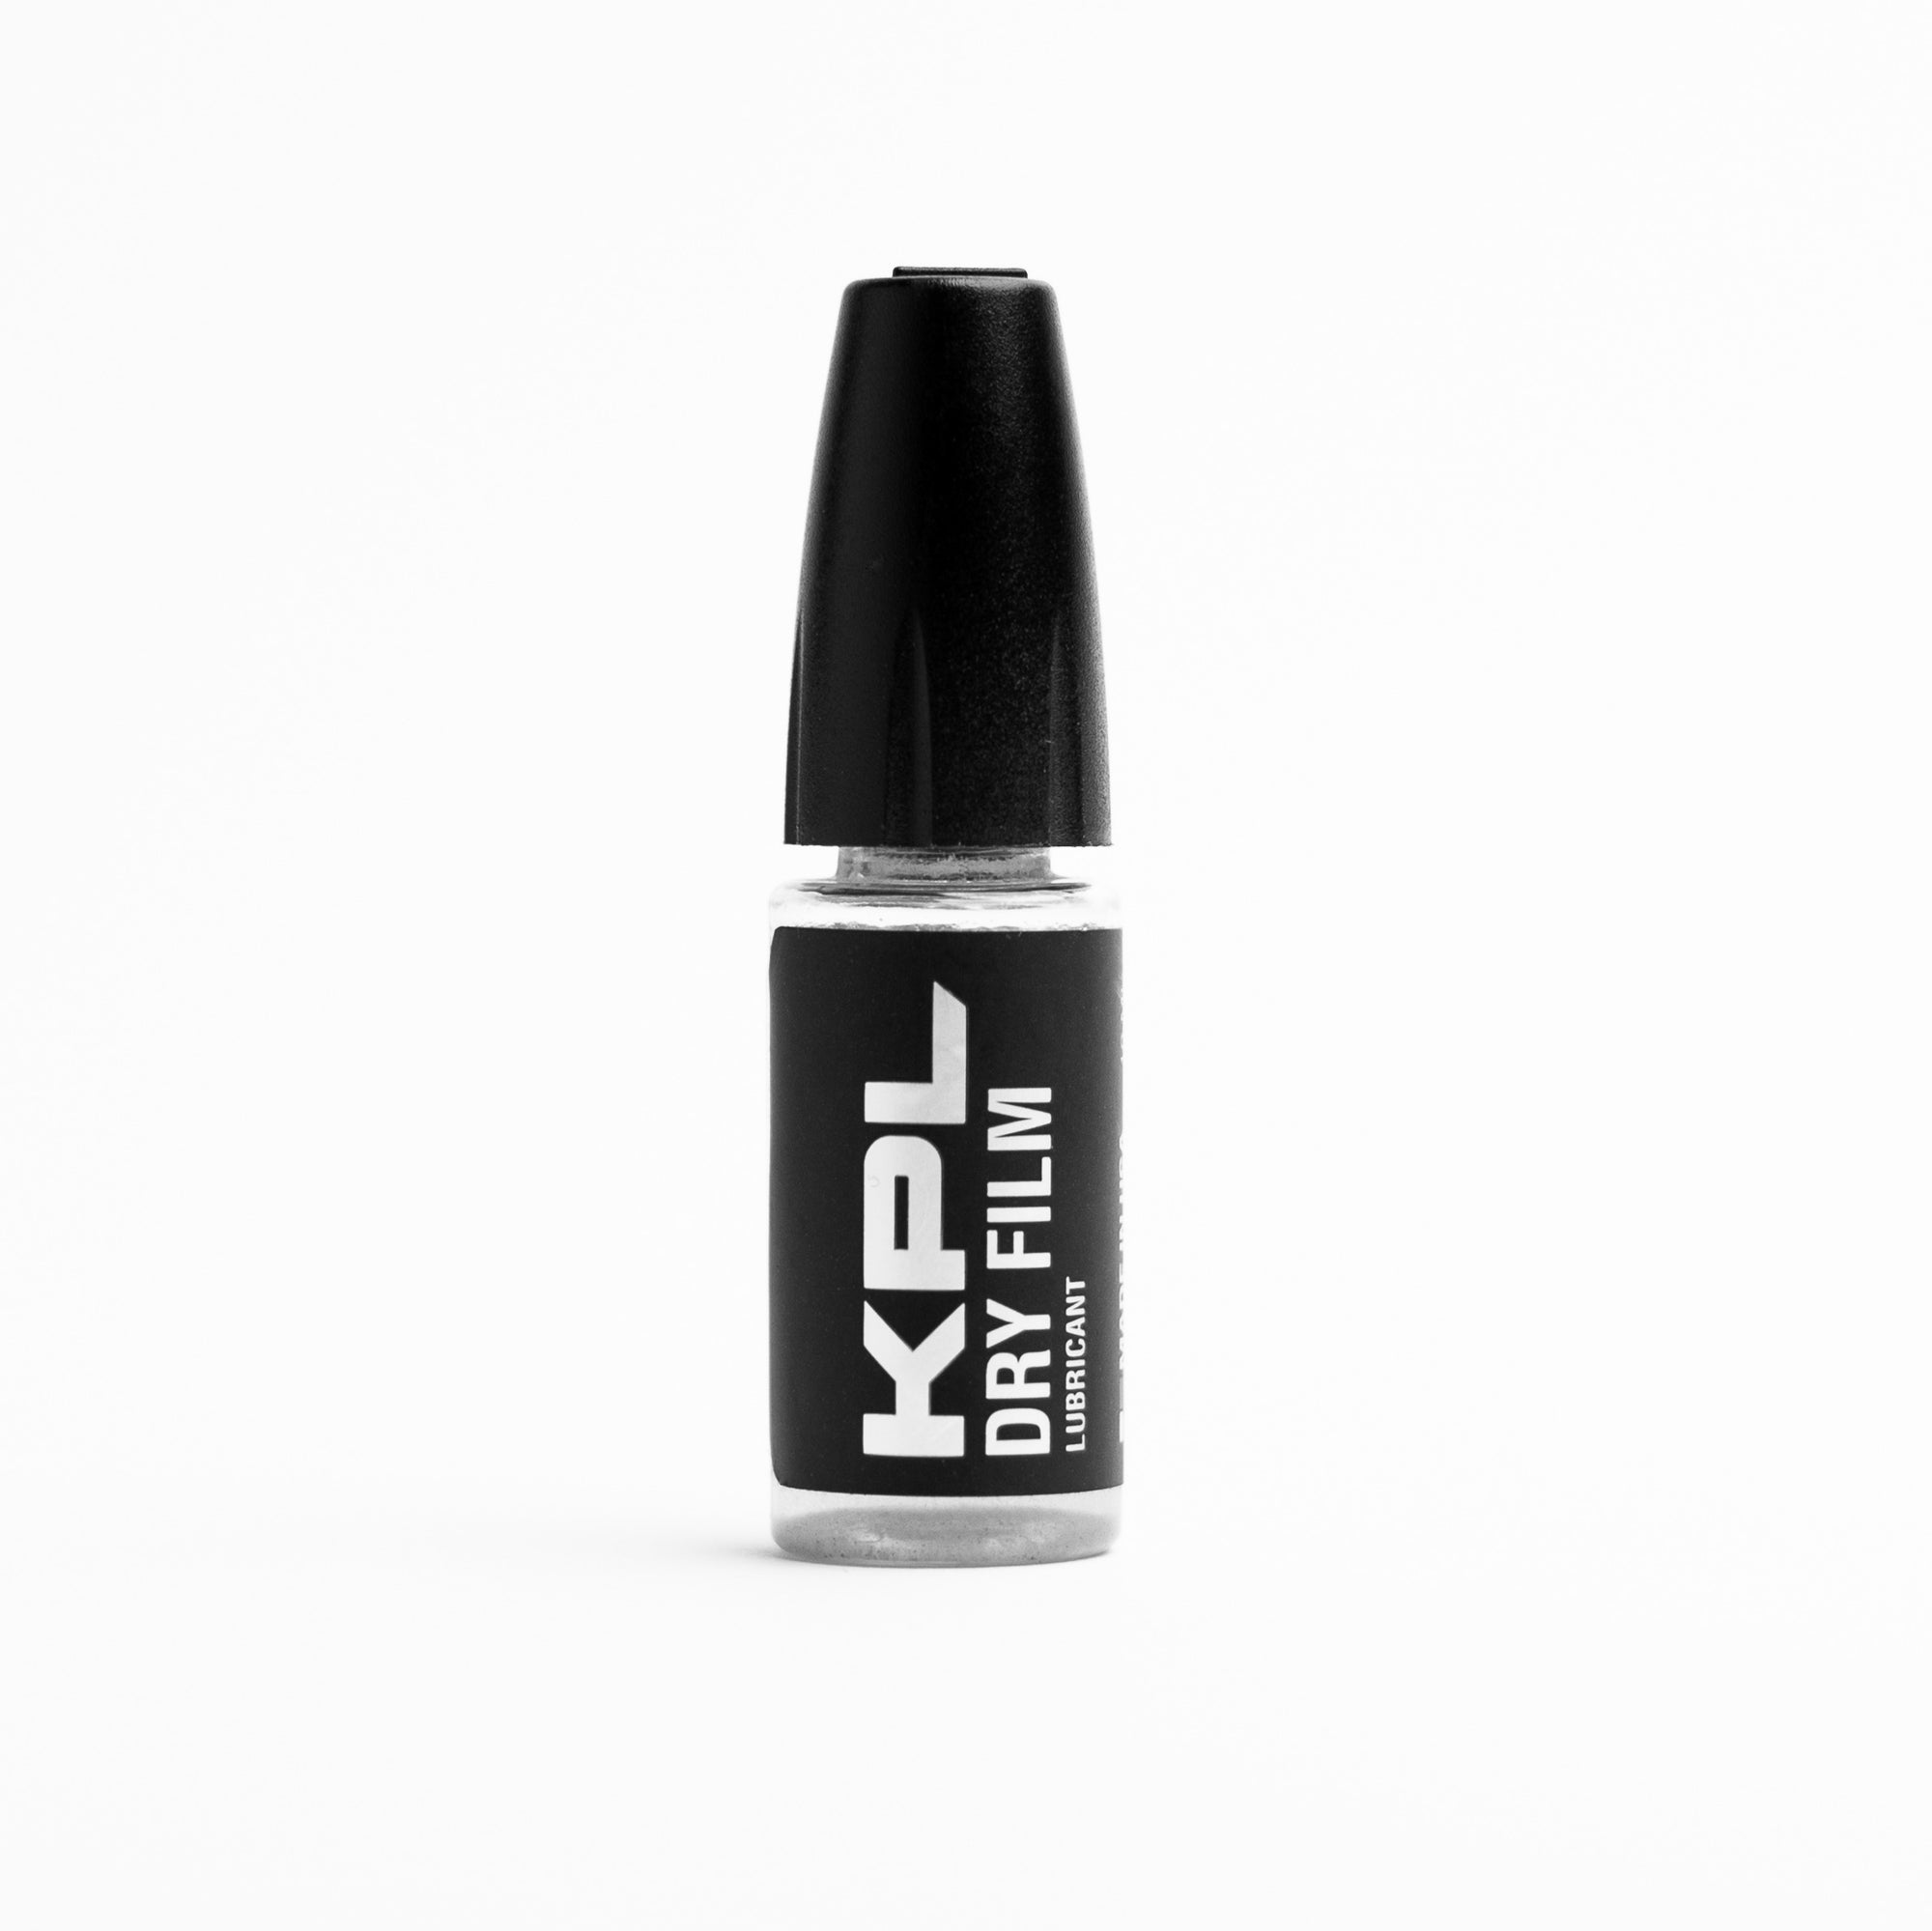
Next, you’ll want to grab everything you’ll need for the entire process. This includes any tools that you’ll need, organizational trays, gloves, cleaning supplies, replacement parts (if applicable), your preferred threadlocker, and some KPL to lube up those pivots once it’s all back together.
If you’re not entirely sure of everything you’ll need for the disassembly process, check out our article on What's In A Balisong Maintenance Kit to get you going!

Tang Pivots
Now that you’ve done all of the necessary prep work for disassembly, it’s time to start taking apart your butterfly knife.
Step 1: Pins, screws, and threadlockers
Disassembling your butterfly knife starts at the pivots, where the ends of the handles are attached to the tang of the blade. Although torx head screws are the preferred hardware nowadays, you may still find some butterfly knives that use pin construction to affix the handles to the blades.
Unfortunately, pinned balisongs cannot be disassembled or retuned, which is why they are found almost exclusively on cheaper and/or older models.

If your balisong does have pivot screws, there are a couple things you’ll want to make sure of before you start disassembly.
First, always use the correct size bit for the screw you’re working with. Using over/undersized bits can damage your tool and strip the screw, and stripped screws are a nightmare to remove.
Second, you’ll want to know if the screw is held in place with any type of threadlocker. If you’re not sure, it’s best to reach out to the manufacturer or seller so you can avoid any mistakes during disassembly.
Teflon tape and paracord are two thread locking methods that are relatively cheap and easy to do at home, and can be removed fairly easily with no extra labor or effort.
Chemical threadlockers are another great and inexpensive method to keep screws in place, but come with the drawback of having to wait (usually 24 hours) for the threadlocker to set. Additionally, you’ll need to be a little extra careful during disassembly to avoid stripping or snapping your hardware.
If you’re wondering which type of loctite or threadlocker to use for your butterfly knife, you’ll want to use a removable product such as Vibratite. Permanent threadlockers make it much more difficult to disassemble your balisong later and should be avoided if possible.
Heating up the pivots prior to unscrewing will loosen the threadlocker enough for you to remove the screw without damaging your parts. A few seconds above (not in!) a small open flame should do the trick, just make sure you’re exercising extra caution at this point!
Step 2: Removing the pivots
To remove the pivots from your balisong you’ll want the knife in a closed position.
Squeeze the handles together and then use your torx bit to turn the screw counter-clockwise until it comes completely out. Squeezing the handles together applies friction to the sexbolts that hold the screws, ensuring that the whole pivot doesn’t spin when turning the screw.
If you’re disassembling a butterfly knife with a live (i.e. sharp) blade, there are two methods that will keep you safe from cutting yourself.
Either (1) remove the safe handle first, so that you can squeeze the bite handle and blade together to remove the other pivot screw, or (2) squeeze both handles together and remove both screws before removing either sexbolt, then disassembling both pivots at the same time.

Once the pivots are out you’ll be able to easily slide the handles away from the blade and remove any washers or bearings. You can take this opportunity to clean off any gunk that may have accumulated here.
Blade
Once the handles are off the blade, there’s not much else that needs to be done here.
If your balisong runs on bushings, you can use your same torx bit to gently push them out, being extra careful to keep track of them so that each bushing returns to the blade in the same hole that it came from.
Use your microfiber cloth to wipe off anything unsightly from the tang area, and set the blade aside until reassembly.

Handles
The final step in balisong disassembly is breaking down the handles. Depending on the knife, this could be either the hardest part of disassembly, or you could already be done before you start!
Channel latchless butterfly knives won’t require much more work from here, if any.
In many cases, you’re ready to clean your pieces and start putting them back together. You might still have another few quick turns of the screwdriver if the knife has removable zen pins.

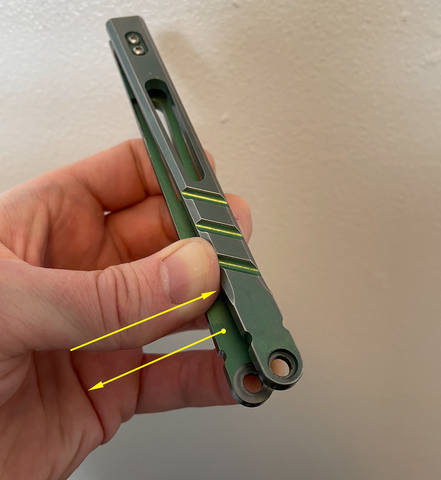
Monarch v2 from Hansen Metals and JK Design (left), and a Xolo from Black Balisong
If your butterfly knife is sandwich construction, you’ll still have to disassemble the knife at the spacers, zen pins (if your balisong has them), and take out any body screws that might be present.
Although we can’t go over the specifics for taking apart every single balisong available on the market, here are some helpful tips for some of the more finicky steps of disassembly.
Zen Pins
If your knife has zen pins, remove these before working on disassembling the spacers.
The screws should come out pretty easily, but if the whole pin spins along with the screw then simply pinch the handles just below the screw and apply pressure.
This will put extra pressure on the pin, creating more friction between the pin and the inside of the handles, allowing the screw to be removed.

Once all zen pin screws have been removed, you can separate the handles slightly and pull the pin out. These pieces are very small, so be careful not to lose them!
Spacers
Simply trying to unscrew spacer screws will likely result in failure. What most often happens is that the bolt will spin along with the screw, meaning you can turn the screwdriver all day but you’ll never make any progress.
The solution here is the same solution as before: friction.
To create friction on the spacer bolts, use one hand to push the handle scales in opposite directions (this is why the zen pins need to be removed first), and the other hand to turn the screws.
The pressure from the handles will hold the bolt in place, allowing the screw to be turned until it’s free. Once the screws are removed you can push the bolts out the other side and voila, your balisong is disassembled!
Latches

Now to address the elephant in the room: latches.
Many flippers nowadays prefer flipping balisongs sans latch, as they can get in the way when performing certain tricks, and can make the knife feel unbalanced.
Some flippers still prefer latches though, whether it be because it serves as a bite handle indicator, they want to be able to lock their knife open or closed, or simply because they’re used to it.
Various attempts have been made to try to cater to both camps, each having slightly different methods of latch removal and installation.
Some latches can be put on or taken off with the knife intact, like the Alpha Beast from Bladerunners Systems.
For others, you have to first remove and disassemble the handle, like the BRS Replicant.
Others are even more involved, such as spring latches, magnetic latches, or retractable latches, which can be found on products from Benchmade, Hom Design, and others.
Since we can’t go over every individual case, here are a few reminders for latch removal:
- Use the right size bit for every screw
- Take pictures during disassembly so you have a reference for how to put everything back together
- Keep all of your parts organized so you don’t lose anything or reinstall anything back in the wrong place
Putting it Back Together
Once you’ve gotten all of your parts cleaned up, it’s time to start reassembling your butterfly knife. Generally speaking you’ll simply follow the same steps as disassembly, but in reverse.
Starting reassembly with the spacers allows you to get the handles put together with a tight fit, which would not be possible by starting at the tang pivots.
Using the same method of pushing the scales in opposite directions to create friction, simply screw together the handles in the same fashion that you took them apart.
Try to get the handles as tight as possible while making sure not to overtighten the screws!
Putting the handles back on the blade can be a somewhat tedious process, but with patience and practice it becomes a much less daunting task.
First, make sure that the pivot holes in the handles are aligned as straight as possible, and that the bushings are back in the blade of the knife (if your balisong runs on bushings).
Getting the washers or bearings back into the pivots is one of the most frustrating parts about reassembly.
There are a few different ways to accomplish this, but my preferred method is to align the handle with the blade, slightly push the washers in one at a time, and then push them both all the way in. Once they’re approximately in position, you can use your torx driver to swirl around the inside of the assembly to make everything sit flush.

Once everything is aligned you can simply push the sexbolt through the pivot (this might take a little wiggling and minor adjusting). Apply any threadlocker that you might use, screw the pivot screw back in, and you’re all set!
If this last part sounds a bit too tedious, @indiana_john_flips makes a “pivot needle” that screws into the sexbolt and aligns everything for you. Simply put the pivot needle on the sexbolt, push the needle through the pivot, and remove the needle.

Before you start flipping, make sure to give any chemical threadlocker the necessary amount of time that it needs to cure, and don’t forget to oil the pivots of your balisong with a high performance knife lubricant.
This is also the point in which you’ll want to tune your balisong to ensure it flips with peak tolerances. Check out our detailed explanation on How to Tune Your Balisong Knife for a more in-depth look!
This will reduce wear on the metal parts, make your balisong sound better, and perhaps most importantly, make it flip more smoothly and predictably, ensuring that you get the best flipping experience out of your balisongs as possible!
Don't forget to use coupon code BARKHANDLE at checkout for 10% off your KPL order!