


Folding knives, like any other tool, will eventually require some kind of maintenance and cleaning to keep it operating at peak performance.
While some maintenance can be done without disassembling your knife, thorough cleaning and lubrication of all the moving parts will more than likely require you to take your pocket knife apart.
How to Disassemble Your Folding Knife
Each knife is different, and I highly recommend you watch a video or some other detailed guide about the particular knife you are looking to break down before you start, but I will do my best to offer some general guidance and tips using my Hinderer XM-18 as an example.
It's also helpful familiar with different the Anatomy of a Pocket Knife so you can better understand how all the parts work together.
Work Area

Folding knives have a lot of very small parts that can easily be dropped and lost, even if you are very careful. I highly recommend finding a clean, uncluttered work area where stray parts have very few places to go.
I also recommend using some kind of mat or tray that has compartments to keep you organized. Today I am using a dump tray made by Rugged On The Rocks.
As you can see in the picture the small compartments in the tray allow me to keep the various small and large parts separate and organized.
Tools
Identifying the proper tools you will need is vital to preventing damage to your knife and its parts. Unfortunately there is no universal tool set for folding knives.
While Torx or Hex screws are commonly used, every knife - even if from the same maker - may use different sized screws and require a different bit.
Check out the previous article all about What to Keep in a Knife Maintenance Tool Kit so you can be prepared for the majority of knives you might encounter.
Something else that may be a factor is proprietary hardware. Some manufacturers use unique hardware that will require a special tool that is generally only purchasable through that manufacturer.
Not having the correct tools can damage or strip your screw heads, which makes it very difficult to remove or replace the screw by conventional means.
Using the XM-18 as an example, I need a proprietary tool for the pivot screw, a 5/34 hex bit for the body screws, and a Phillips head bit for the pocket clip screws.
The Warranty Issue
Every manufacturer has different policies regarding the disassembly of the knives they produce. While some have no issues and will even encourage owners to disassemble their knives, other manufacturers do not honor any warranty work if the user disassembles the knife.
Some production knives even use loctite on screws during the assembly process, which can make it increasingly difficult for the end user to disassemble the knife. I recommend checking each manufacturer's policy before disassembling a knife.
If maintaining a warranty for a specific knife is important to you, I would avoid taking it apart before checking the warranty's details, as many manufacturers will allow you to send the knife directly to them for maintenance.
Now That You’ve Taken Your Knife Apart

This is the perfect opportunity to do a little maintenance! I use alcohol wipes to clean up any gunk and dust accumulated inside the knife, there is often a fair amount in there.
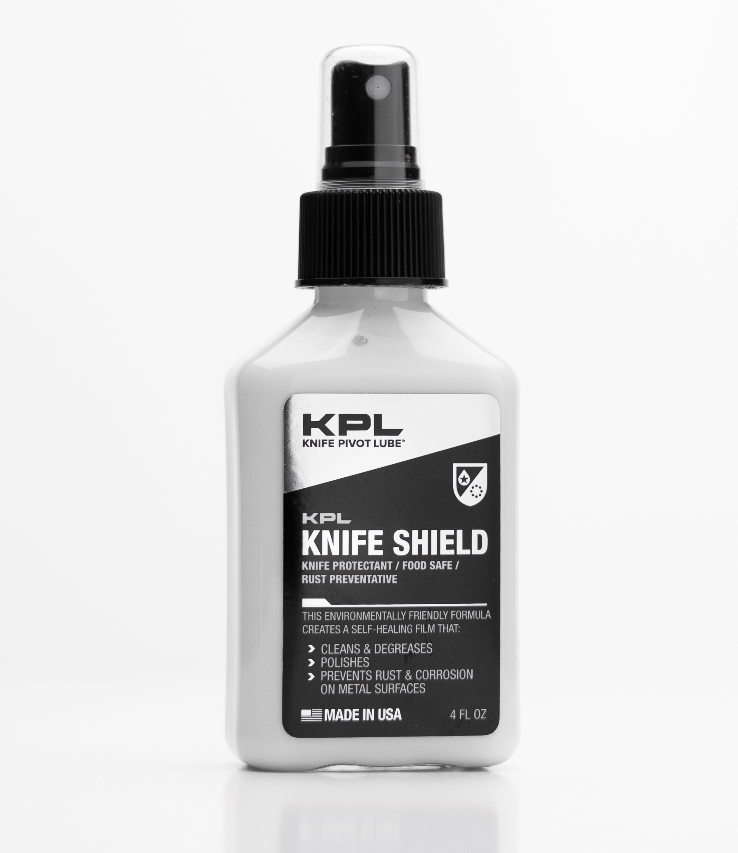
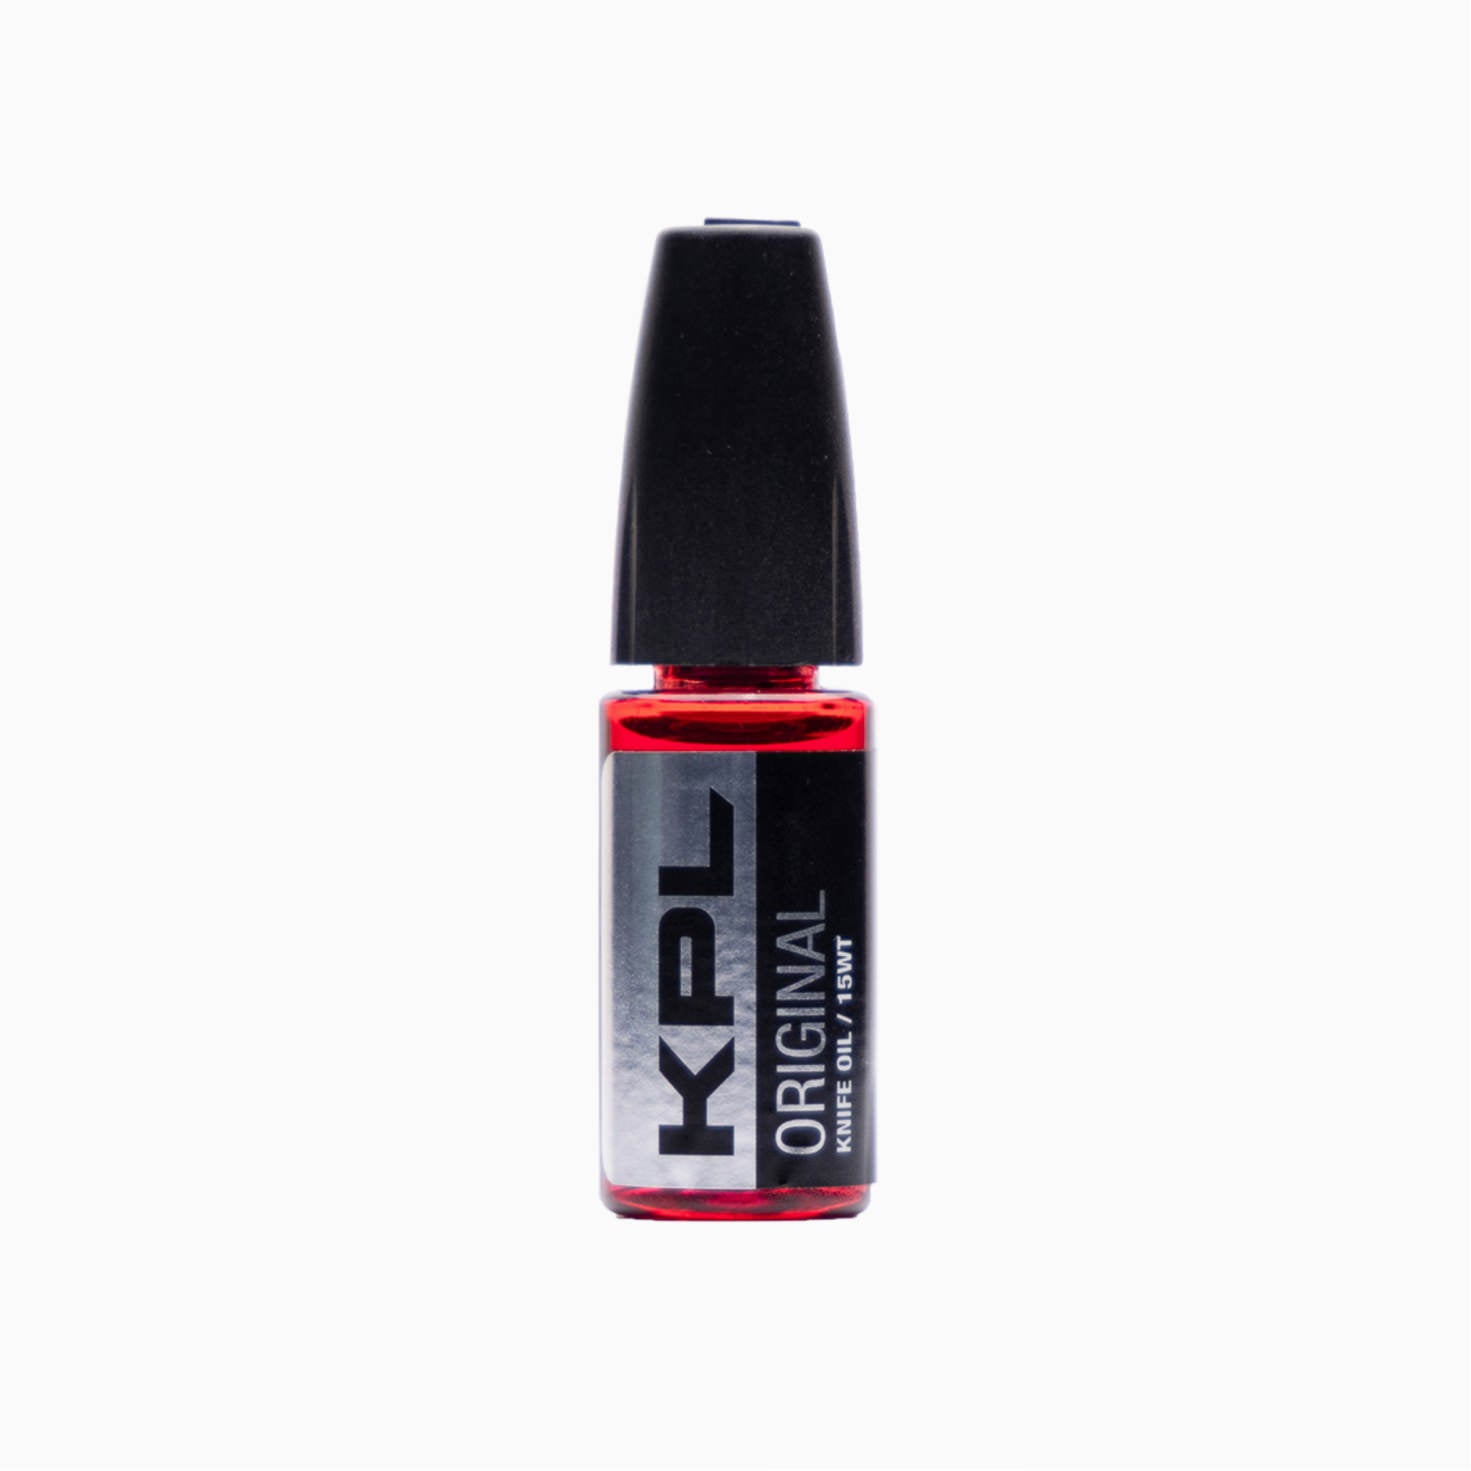
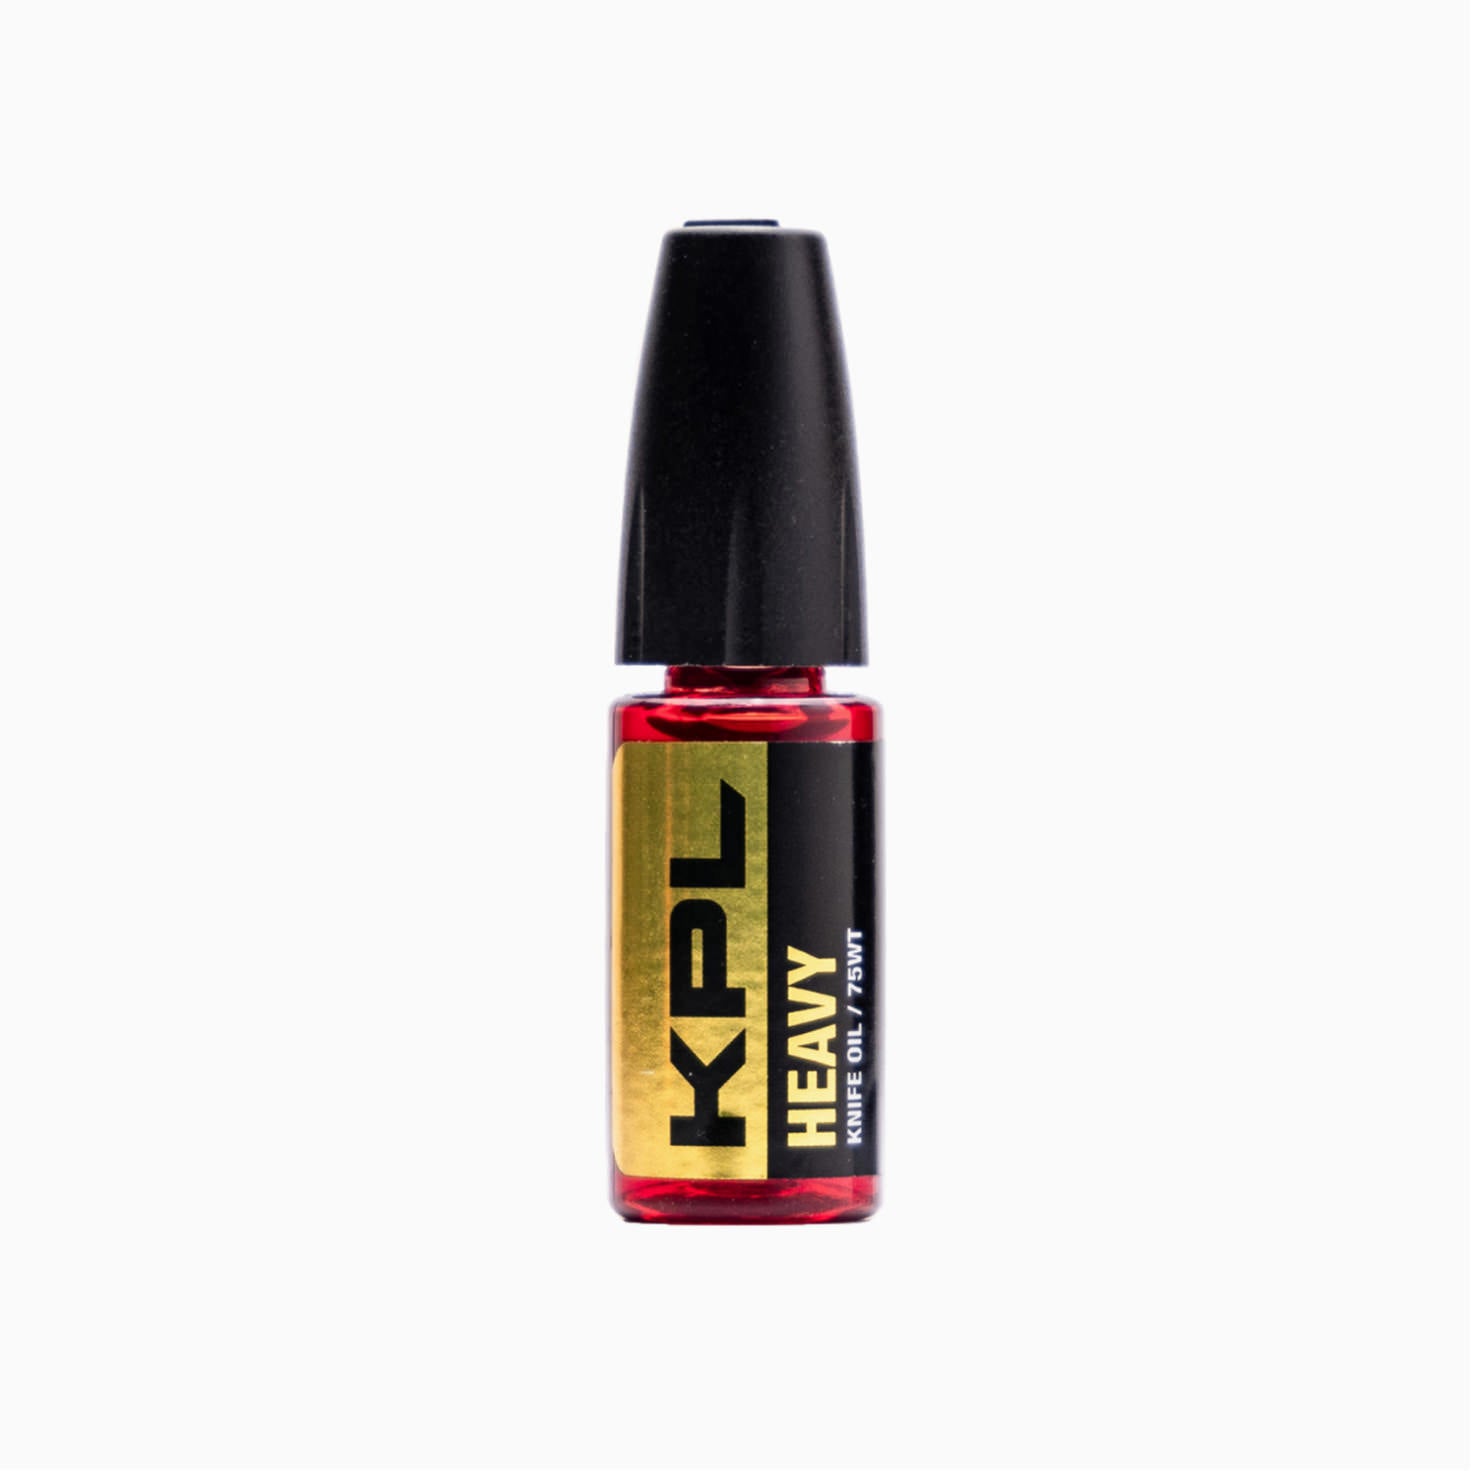
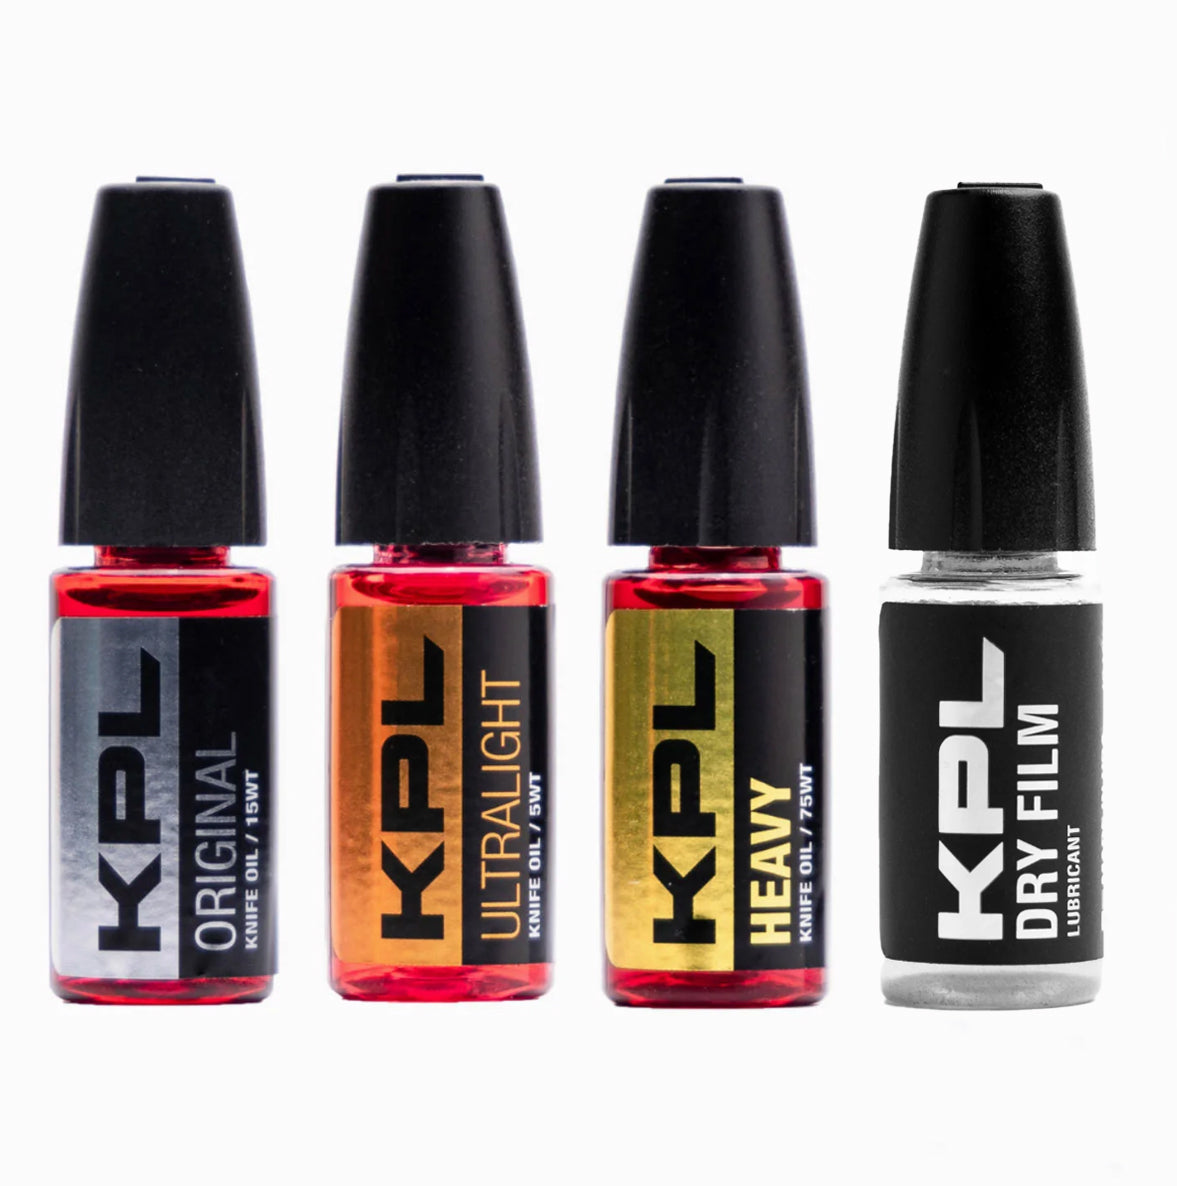
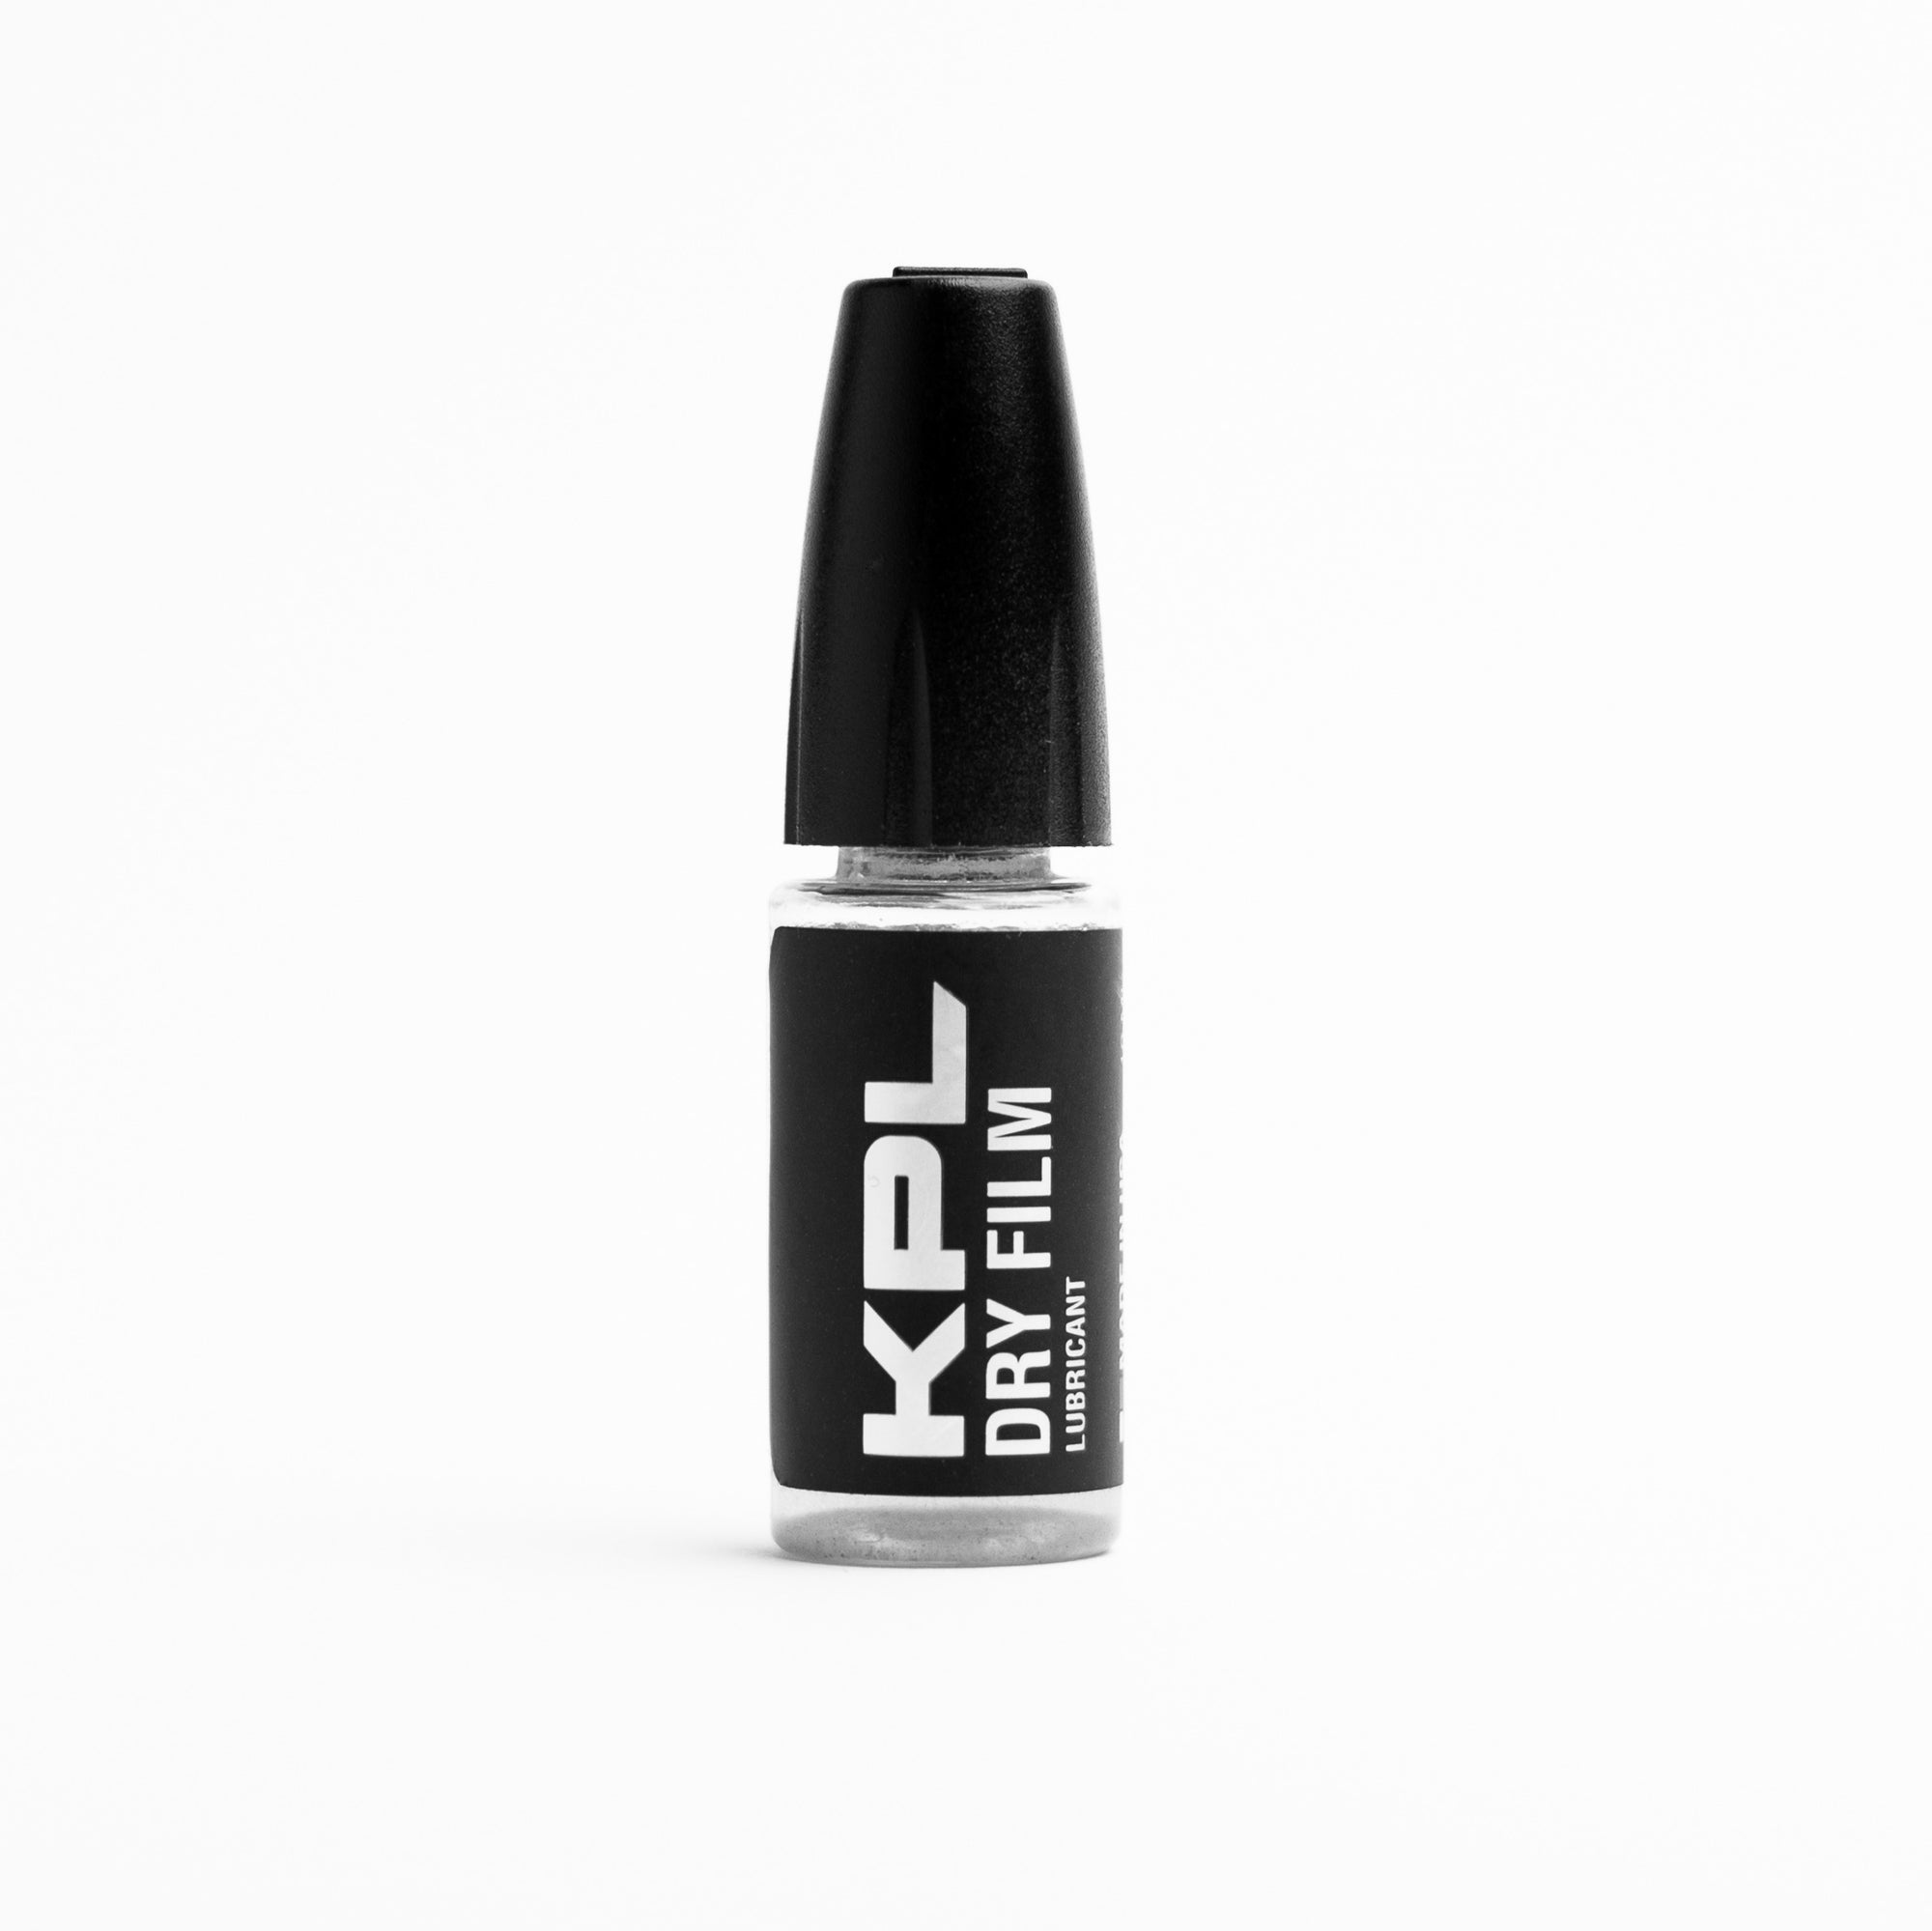
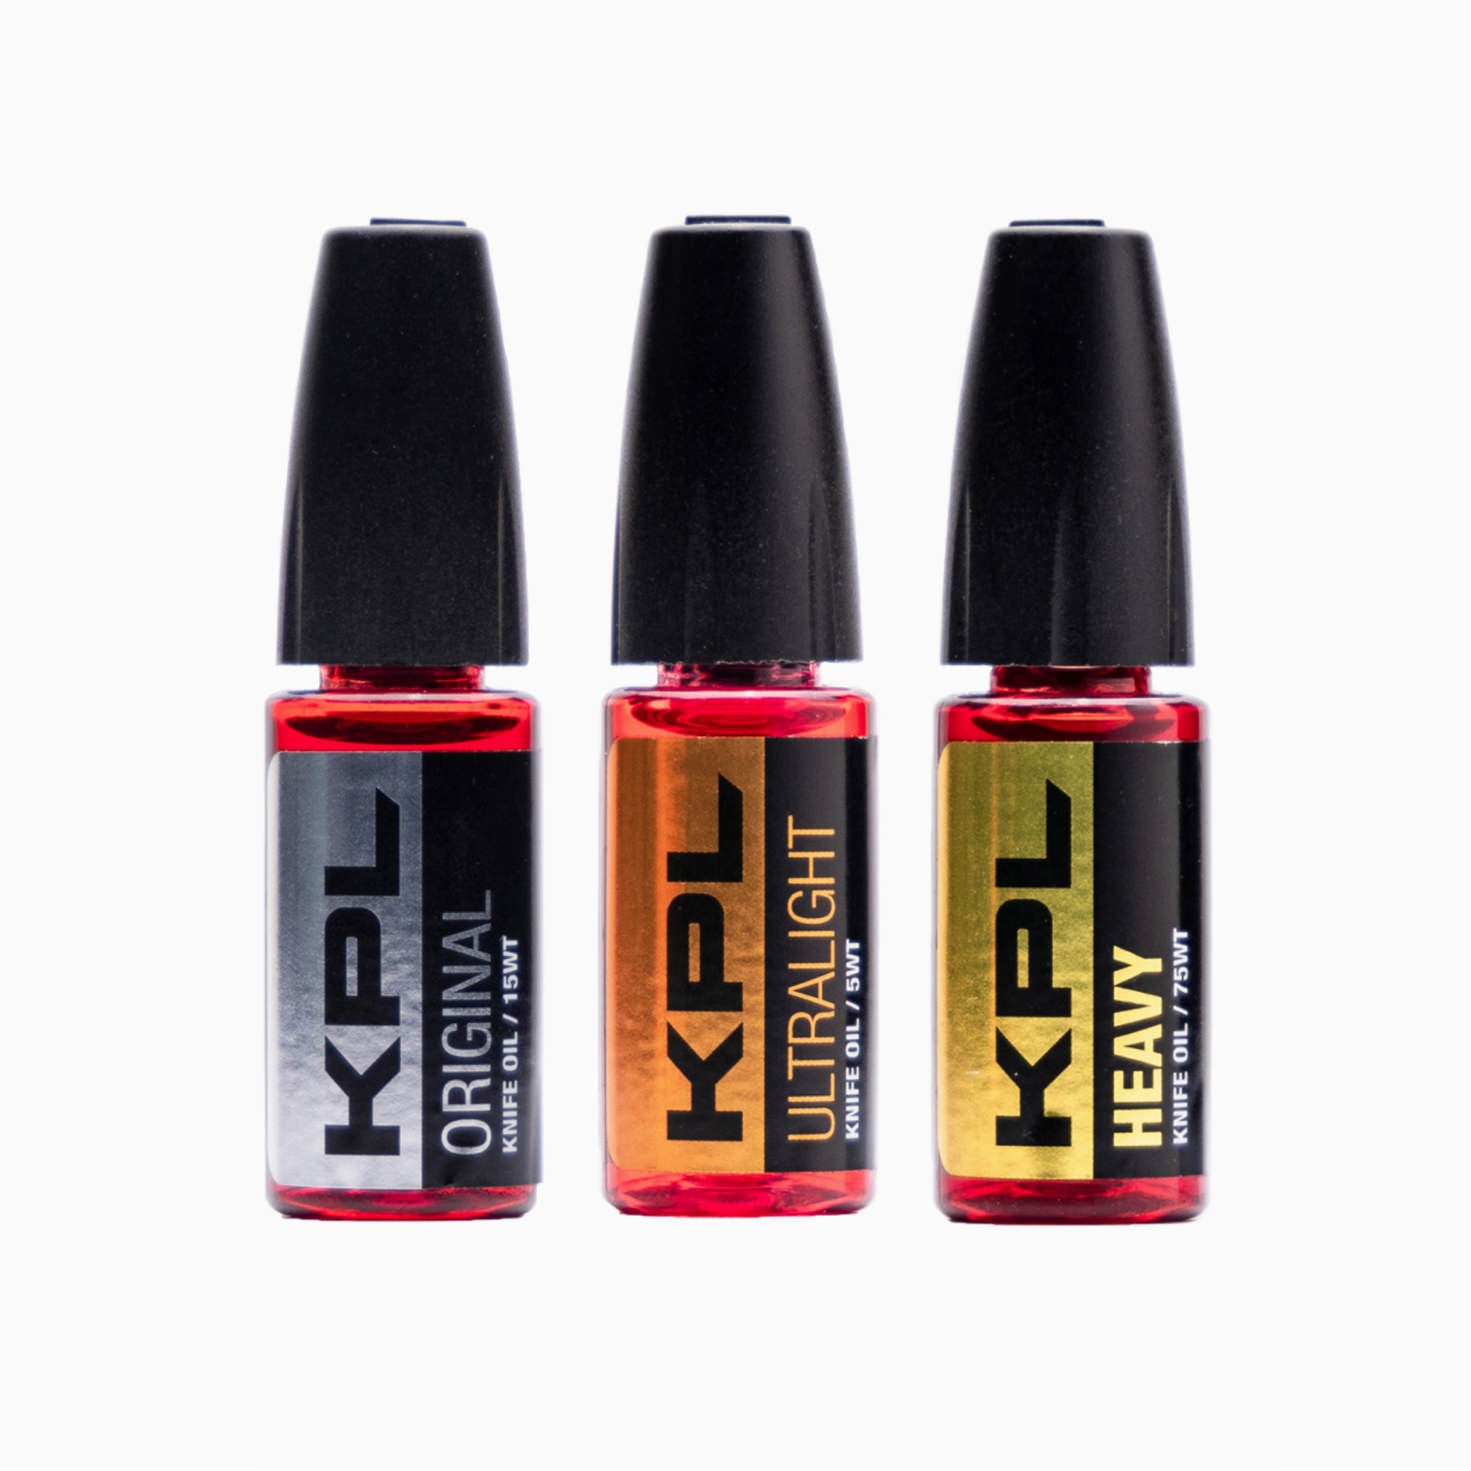
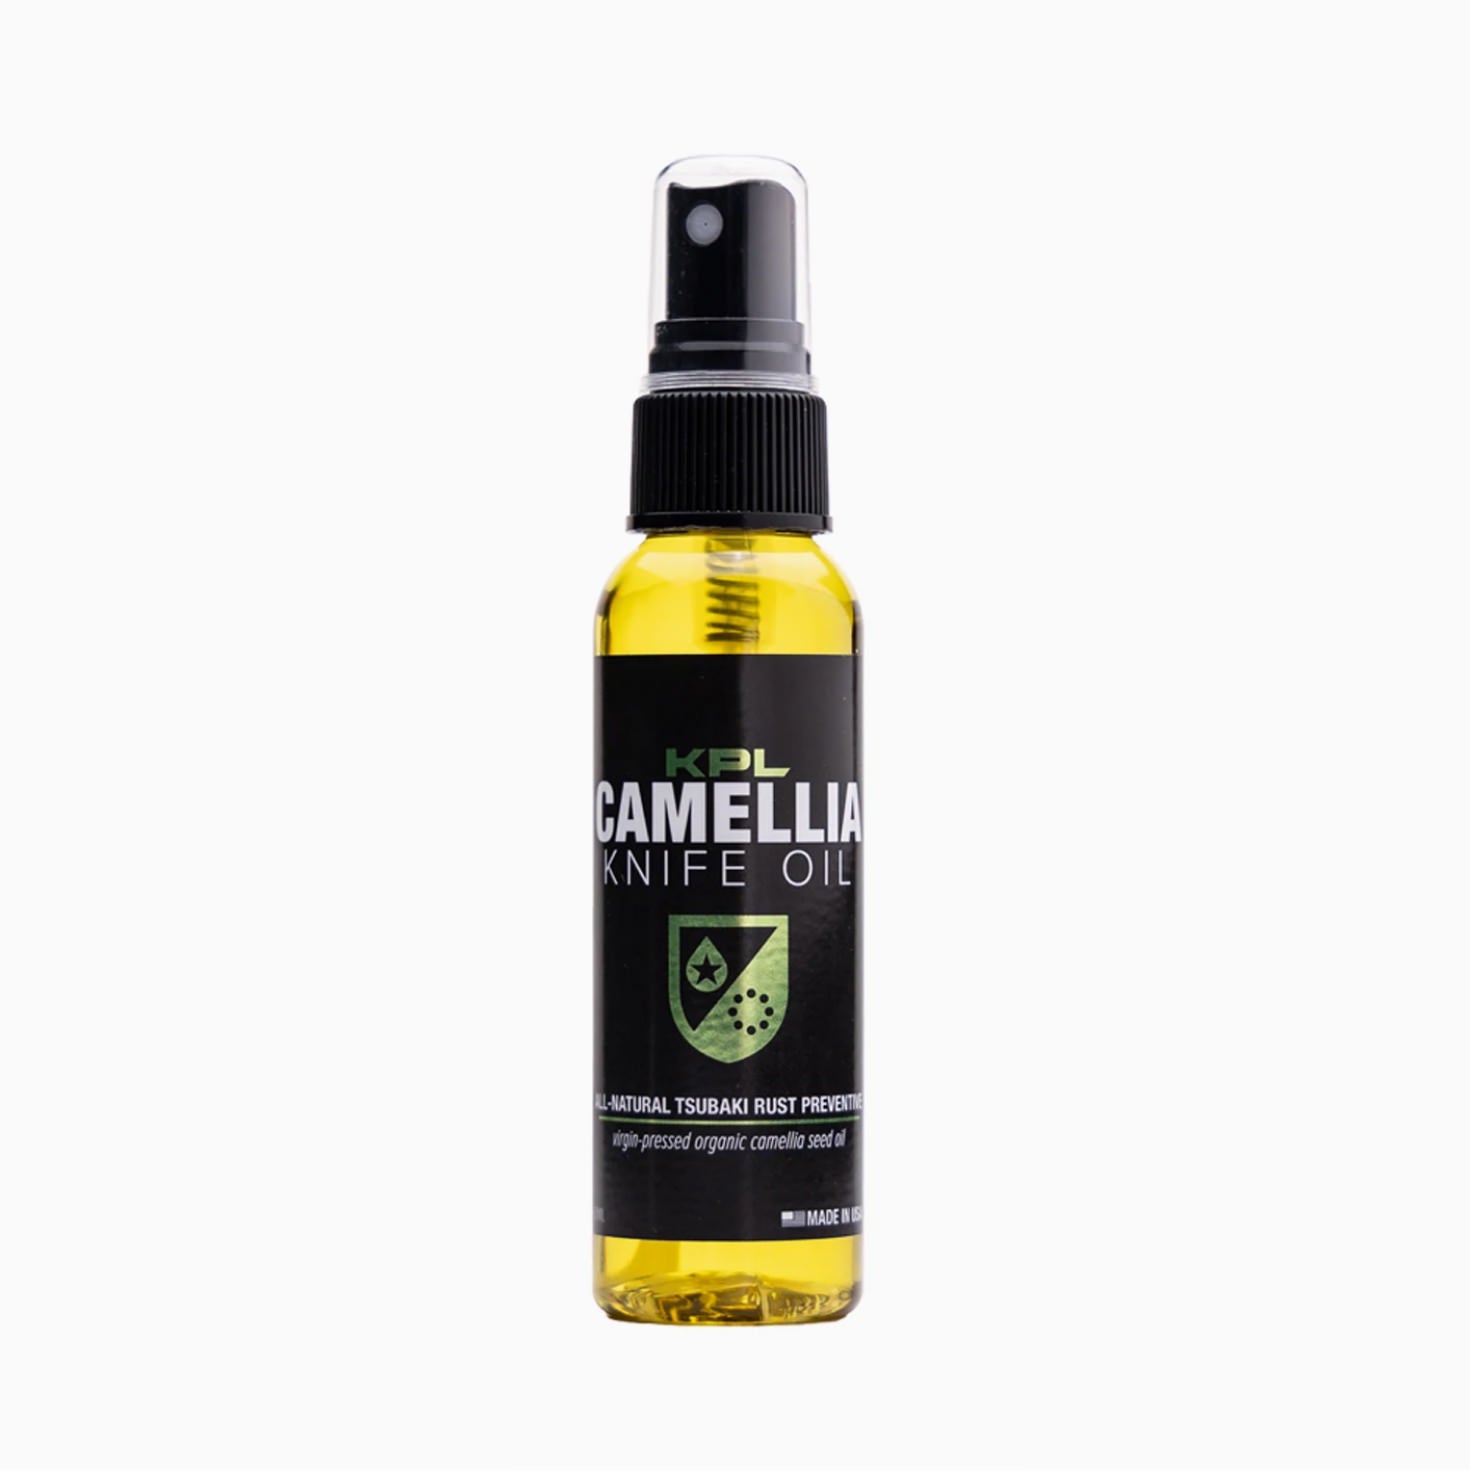
Once everything is cleaned up it’s time for some KPL.
I use KPL Heavy on the detent and KPL Ultralight on my pivot ball bearings. In the case of a knife with teflon or phosphor bronze pivot, I use the Original KPL.
This is an important step, as it not only makes your knife noticeably smoother, it also reduces wear and tear on those moving parts and extends the life of the product!
Putting it All Back Together
In my experience getting your folding knife back together properly is more difficult than taking it apart! I have dropped parts and watched them bounce off into the abyss during reassembly and spent hours frantically searching for a tiny screw.
So, my biggest piece of advice here is to take your time. Most parts are only held together by the screws and a slight pressure fit, so before those screws are in place it's easy to have them move out of place or fall out all together.
When tightening your body screws you want to ensure they are tight enough to not come loose, but also to be careful not over tighten them. This can make disassembling very difficult next time, or you damage the screw head.
I do not recommend using any loctite on body screws.
The pivot screw can be a little tricky - over or under tightening will cause the blade to be off center. Over tightening can also crush your bearing and make the knife blade more difficult to deploy.
For a more in-depth look at caring for your bearings, check out Maintaining your Knife's Bearings.
This step often requires a lot of trial and error to find the sweet spot, where the blade is centered and the action just right. In some cases people may recommend using loctite to help keep the pivot screw in place.
If you must do this then a temporary thread locker should be used, such as blue loctite. NEVER USE RED LOCTITE ON ANY PART OF YOUR KNIFE. I can not stress this enough!
Conclusion
Disassembling your folding knife is a rewarding and fun process that allows you to get to know how your tool works, allows for customization, and maintaining of your knife.
Though it can be a tricky process, following these tips and watching a few tutorials on your specific knife will greatly help. With some practice and the right tools, the process becomes easy and will almost become second nature!
As always, don't forget to use code BLACKFLAG at checkout for 10% off your KPL order!


Comments
William Wesley said:
Knife blade will not lock when open