

The Spyderco Manix 2 is a honest-to-goodness work of art! In our opinion, it makes for one of the best EDC knives in existence, particularly in the Lightweight configuration which features a linerless design and ultra-strong glass reinforced copolymer handles.
This knife is also known for being a bit difficult to disassemble and put back together, which is becoming a more common task, especially with the advent of aftermarket parts like micarta and titanium scales, and replacement ball bearing cages in an array of different metals.

Replacement cages for Manix 2 (source Flytanium)
In today's article we'll discuss why the Manix 2 is such a work of genius, and cover how to disassemble and successfully reassemble the Manix 2 without stressing out over what can be a difficult task without the right tricks!
What Makes the Manix 2 Such a Stellar Pocketknife?
It comes down first and foremost to ergonomics. The Manix 2 is almost perfectly fitted to any size hand in both of two primary grip types.
First, in the extended grip, the knife offers an extremely grippy and safe handhold, allowing you to make use of extra extension at the expense of additional control. Sliding your hand up to lock your index finger into the forward choil gives you an insane amount of control over the blade point and a ton of leverage for aggressive cuts on hard materials.

Forward grip gives you an aggressive cutting stance and control
Adding to the shape of the blade, thoughtful jimping in two different patterns adds stability without chewing up your hands. The knife's steel liners feature coarse but smooth jimping in the rear and thumb areas, with sharper traditional jimping on the forward control areas leading to a locked-in feel that can't be beat.
Ergonomics aside, the Manix 2's caged ball bearing lock is insanely strong. Relying on a ball bearing wedged between two pieces of hardened steel, when in the locked position, nothing is going to give.

How to Disassemble the Manix 2
If you are planning to disassemble the Manix 2, you may have heard that it's a difficult task. It can be a tricky operation, but we've simplified it as much as possible after a series of experiments here at Knife Pivot Lube.
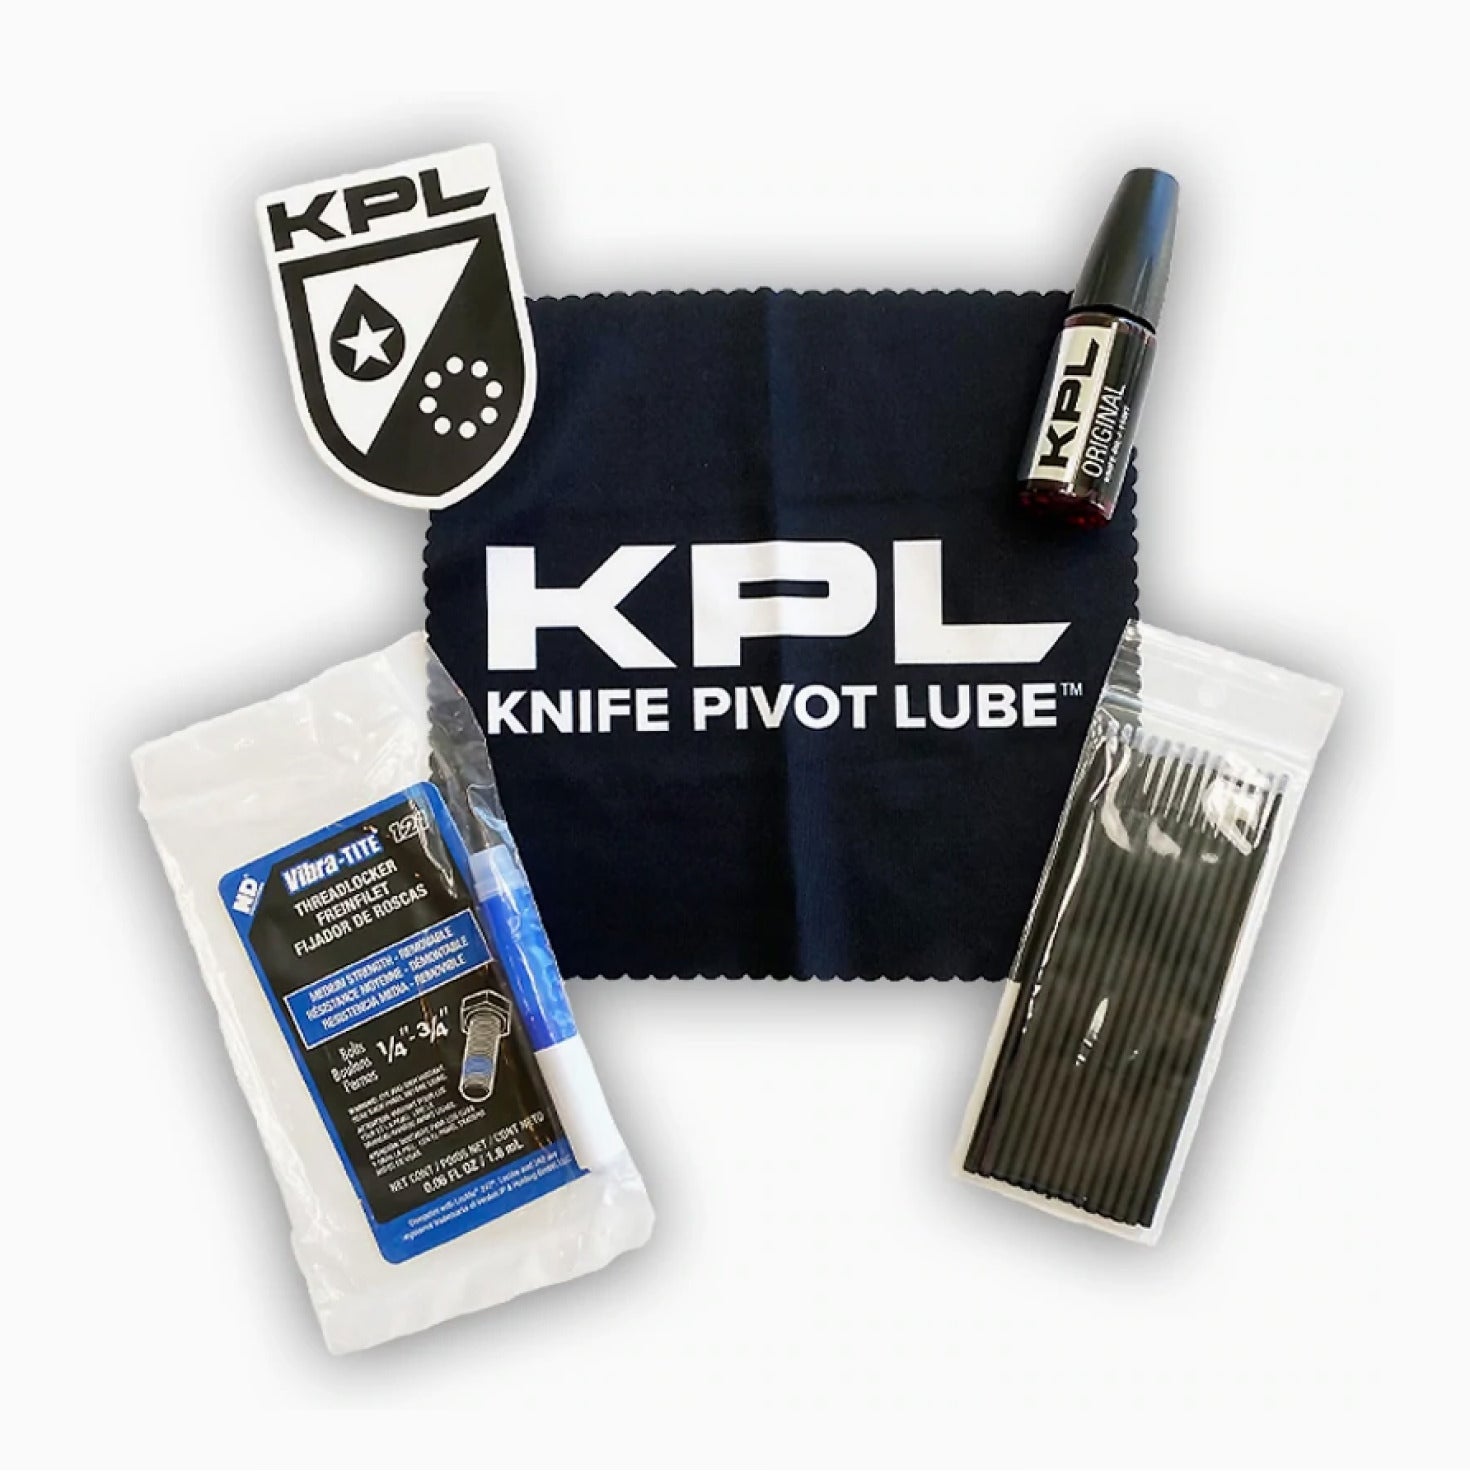
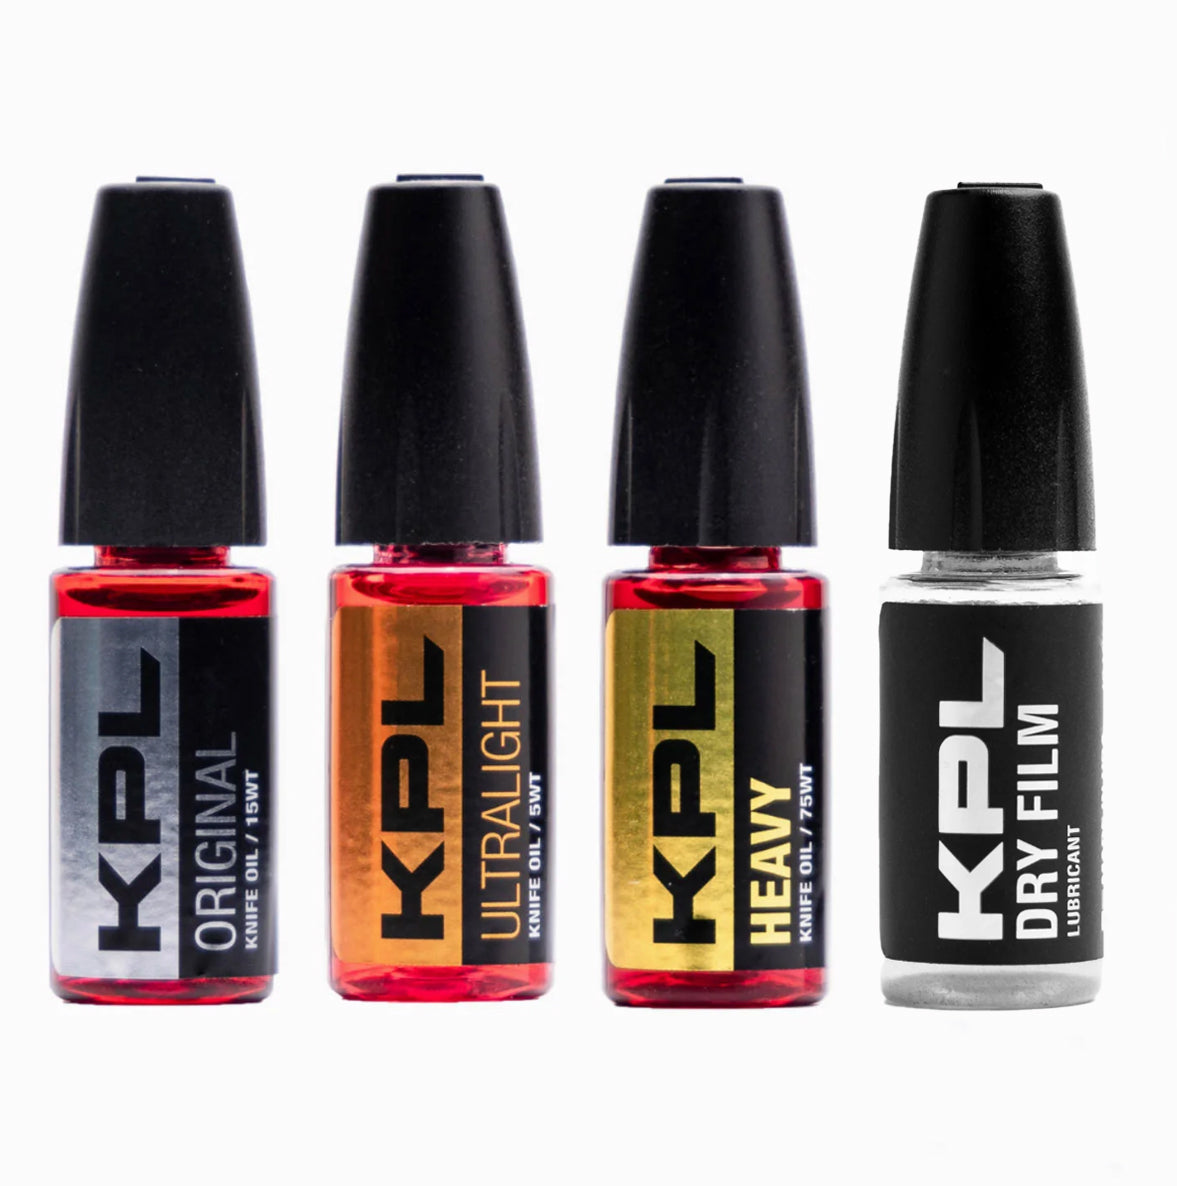
First off, grab a bit driver, T10 and T8 Torx bits, a premium knife lubricant, and let's step through the process together.
1. First, let's remove all of the screws from the show side of the knife.

Remove screws from show side of knife
2. Remove scales and liner from show side of knife.
Remove the scales and liner from the show side of the knife by gently prying, or preferably by using a knife press from Sharp Dressed Knives to pull the scales and liner away from the expanded lanyard tube and remove them from the knife.

A lanyard tool press helps you remove scales without damaging them.
3. Remove rear screw securing the backspacer from the reverse side of knife.

Next remove the rear screw securing the backspacer from the reverse side of the knife. This allows us to pry up the tail end of the spring and remove it from the knife. Then we can rotate up the backspacer to make room for removing the cage and blade simultaneously.
4. Rotate up the backspacer, remove blade and cage simultaneously.

Rotating the backspacer upwards, we can remove the cage and blade. Be careful not to loose the ball bearing!
5. Install new cage simultaneously with blade

Install the new cage alongside the blade tang in one installation motion. Be sure to align the cage with the top (the open side) facing upwards towards spine of the knife.
6. Rotate down backspacer, install spring and lubricate

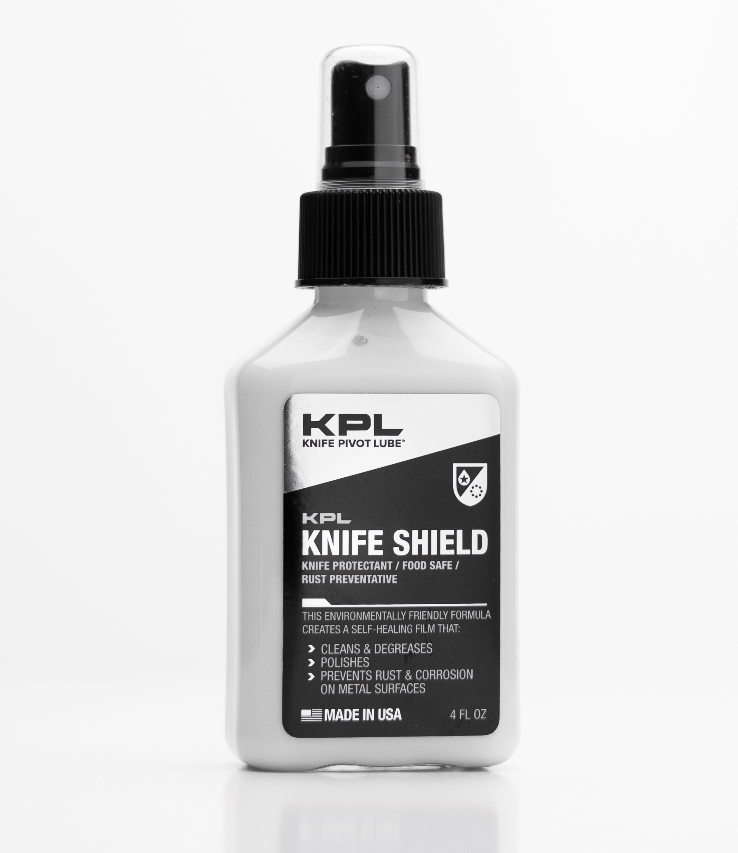
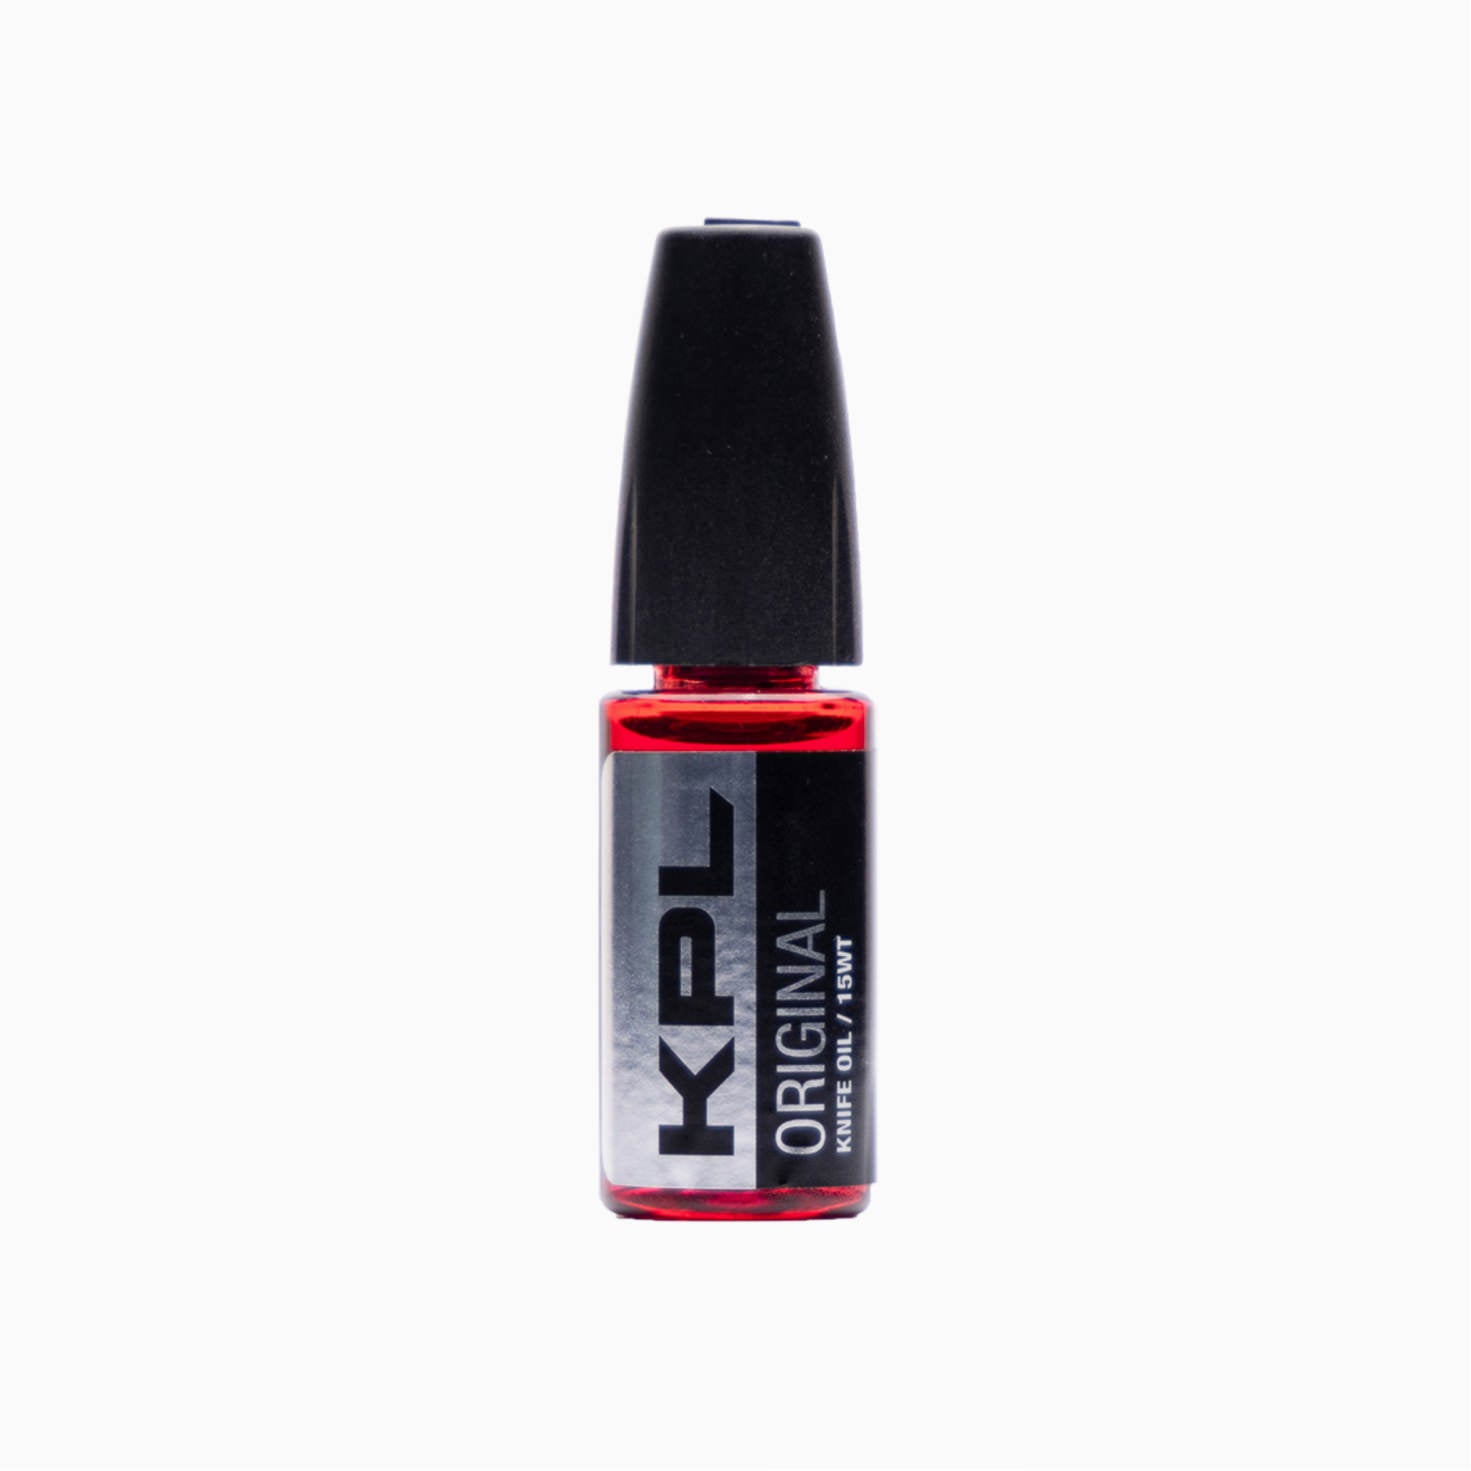
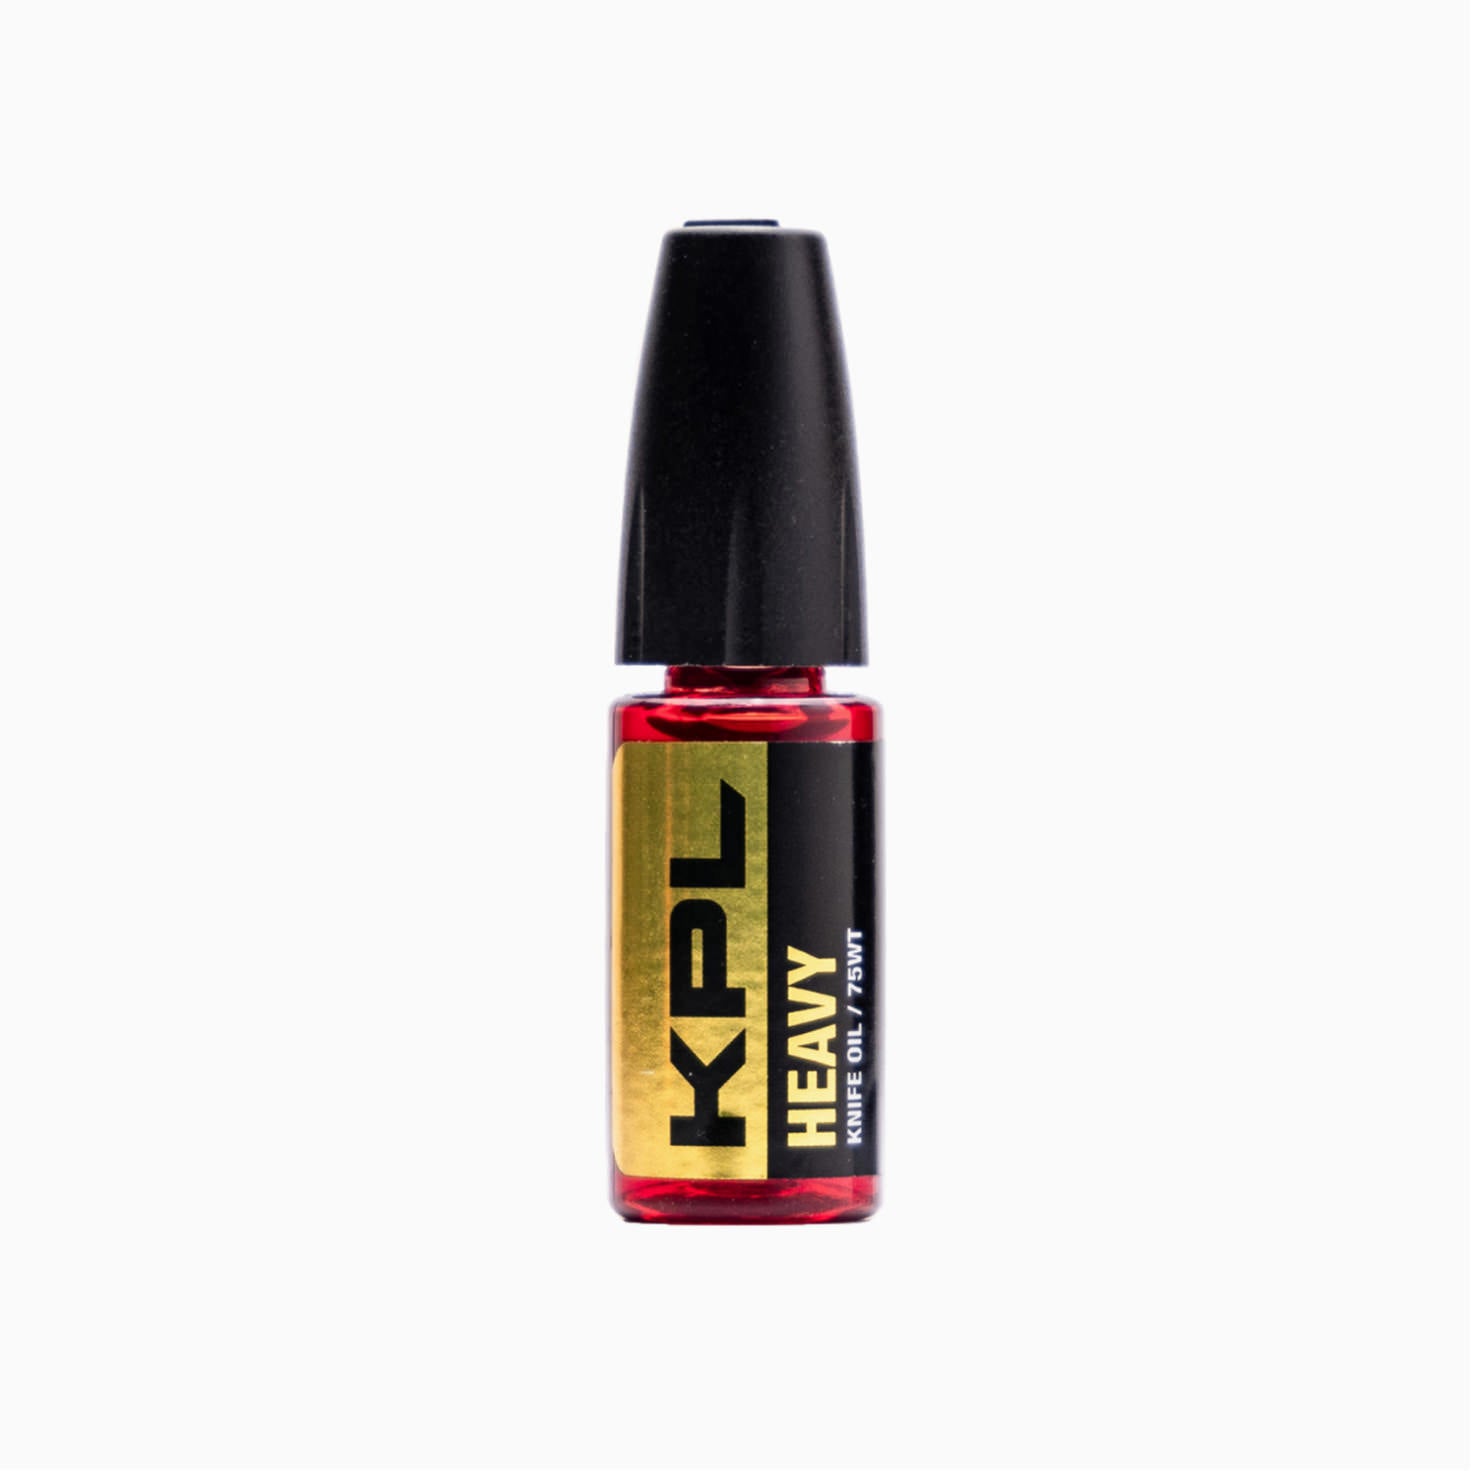
Now that the cage is installed you can add the spring, rotate the backspacer back into position, and secure with screw. Lubricate knife internals with Knife Pivot Lube and reassemble knife.

Lubricating knife internal parts with Knife Pivot Lube preserves parts and keeps rust at bay.

With those steps complete, reinstall scales, screws, and adjust pivot for ideal action.
There you have it! You've disassembled, modded, and re-assembled one of the best knives ever, the Manix 2, without even breaking a sweat! Enjoy your freshly cleaned knife and its new parts!!